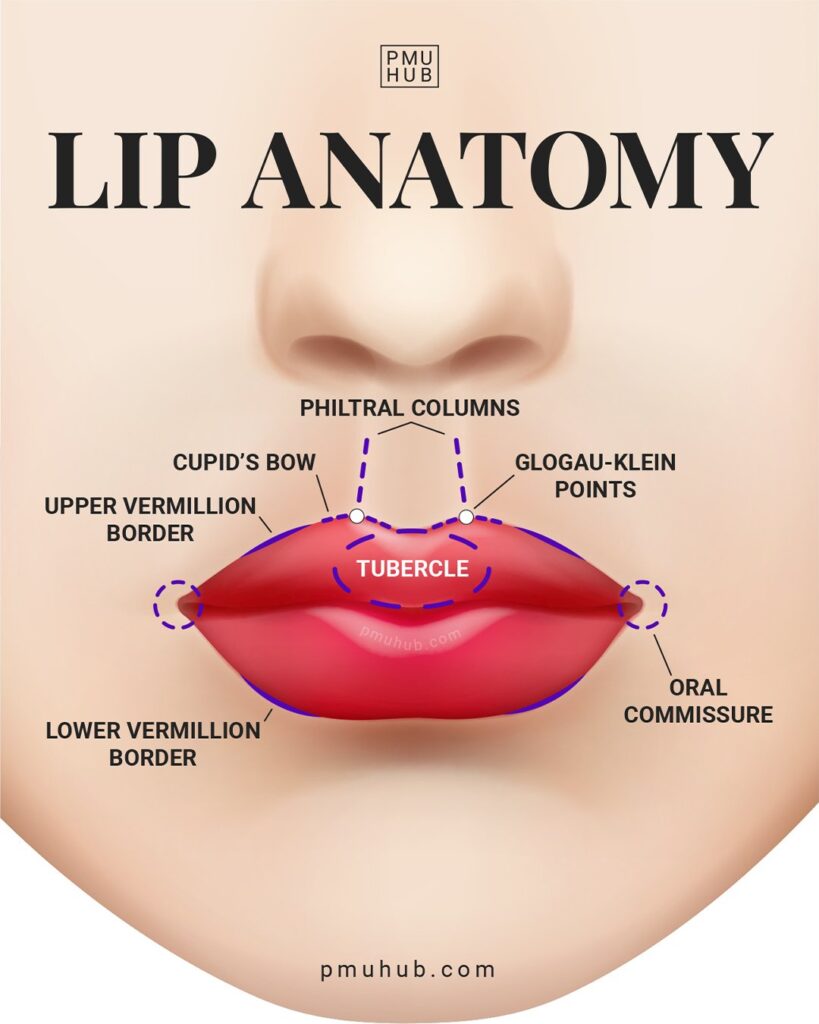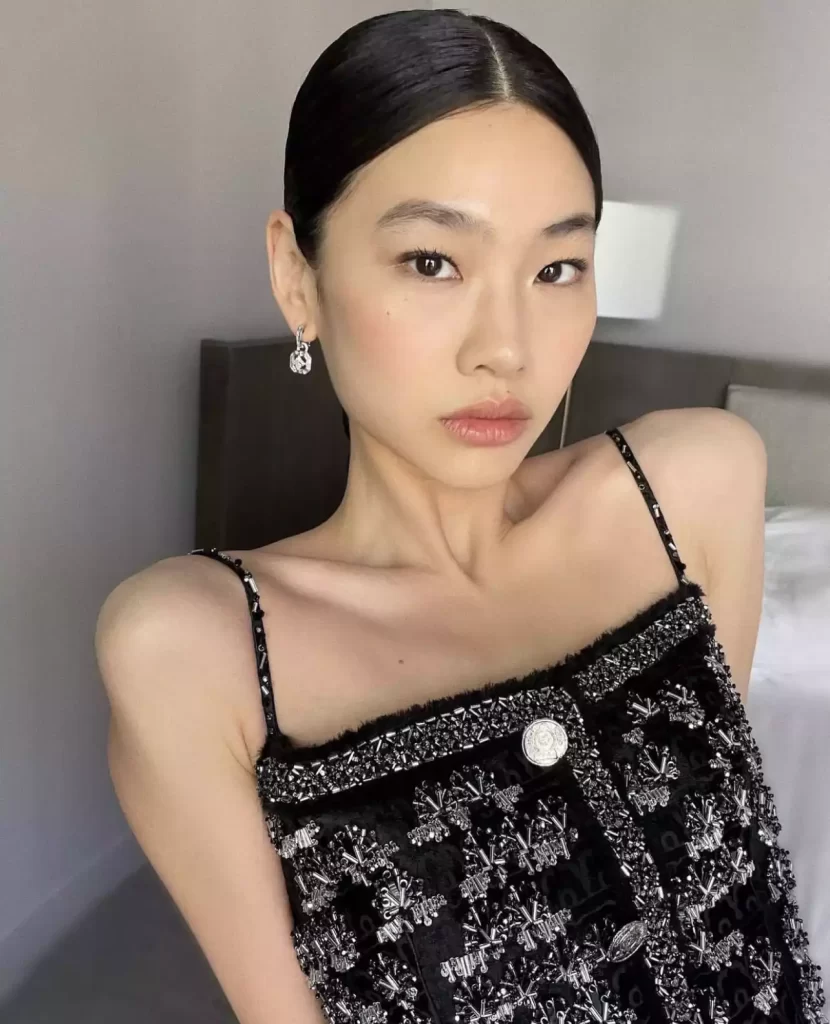


Lip Blush: Separating Fact from Fiction


Table of Contents
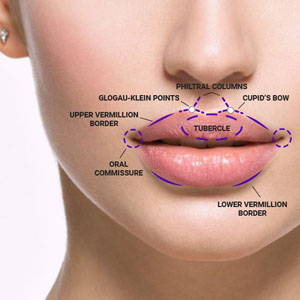
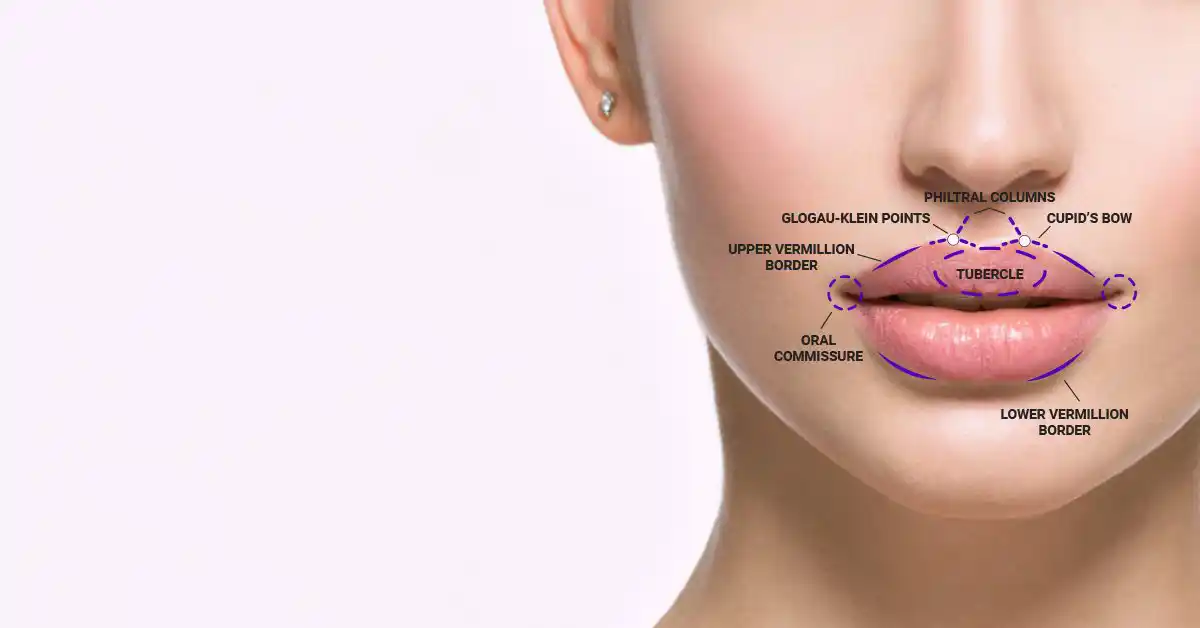
Lip Blush: Separating Fact from Fiction
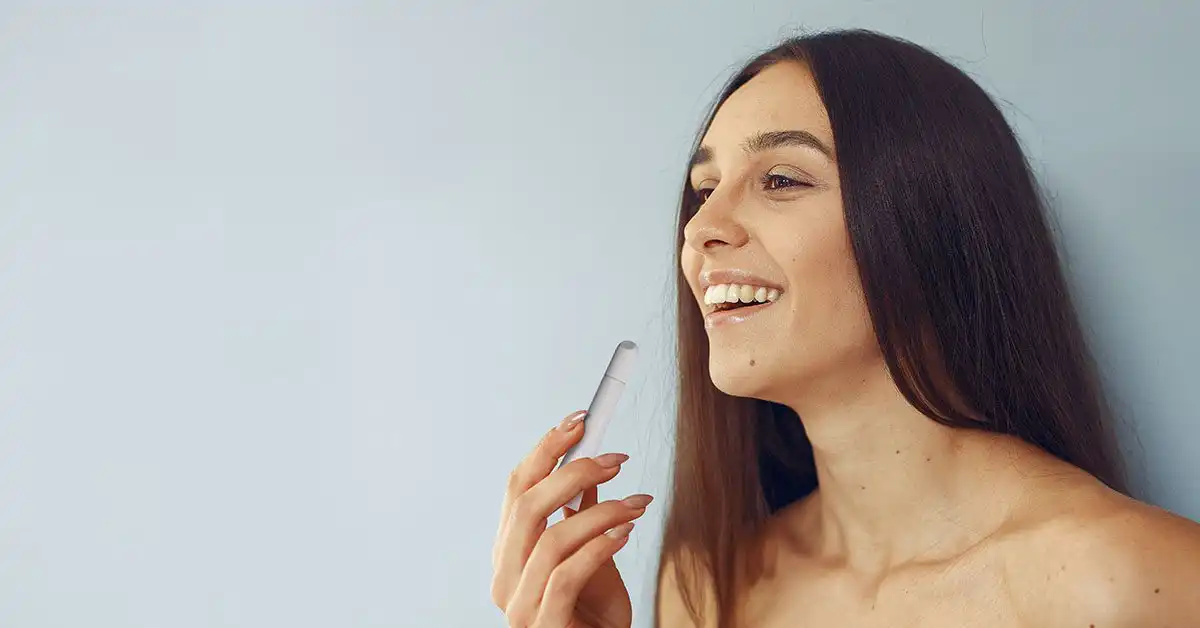
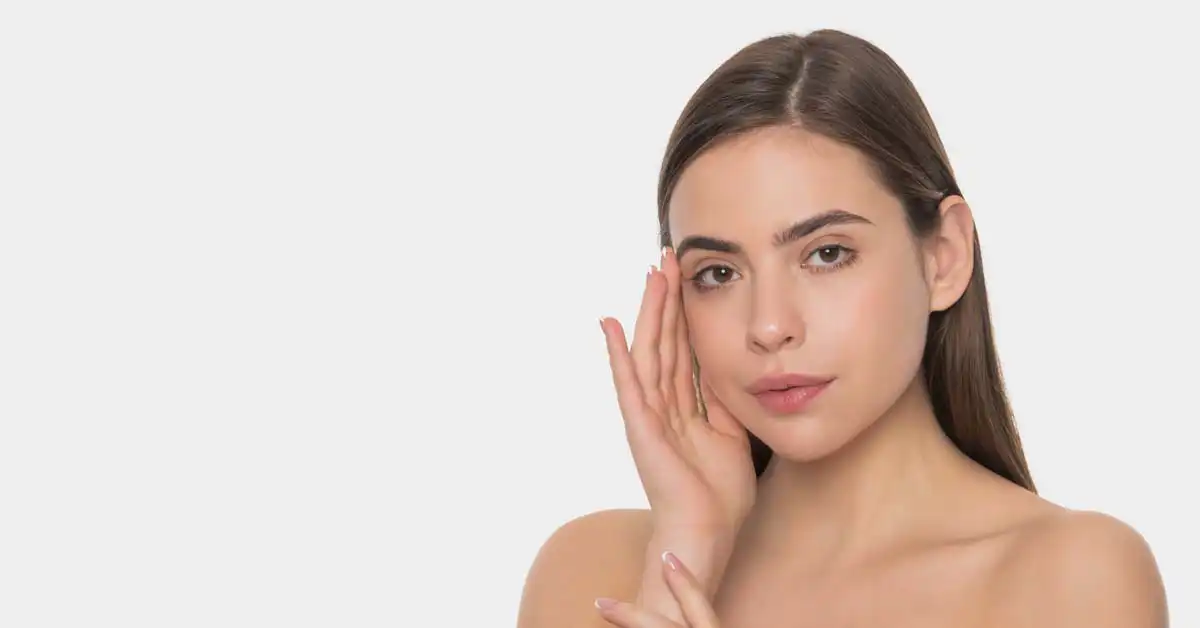
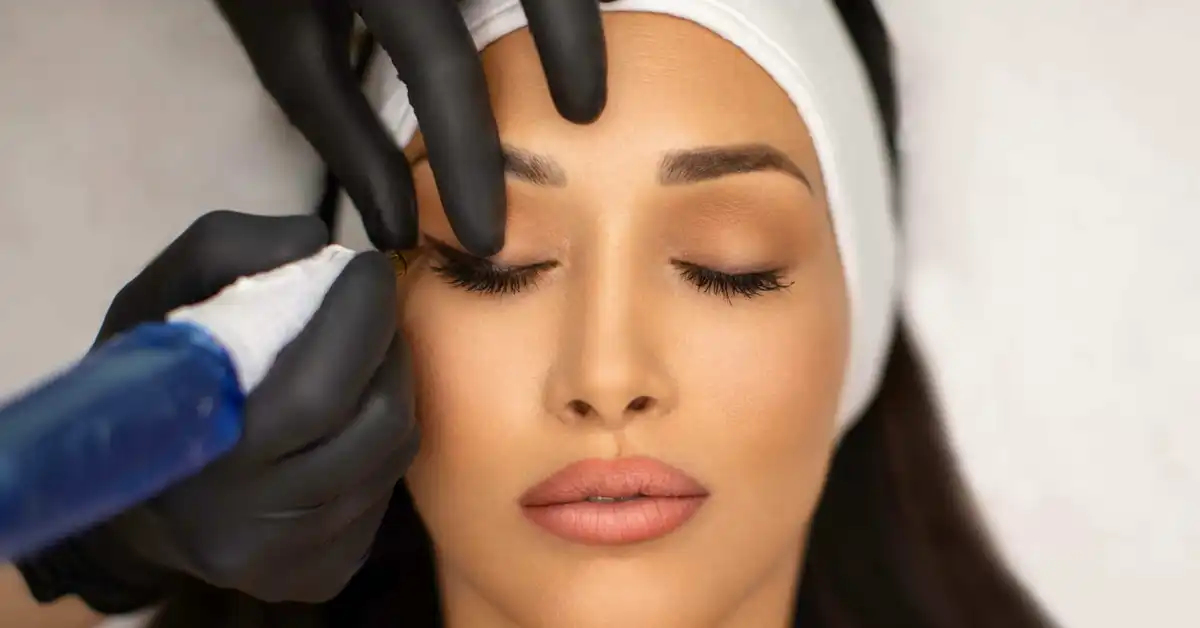
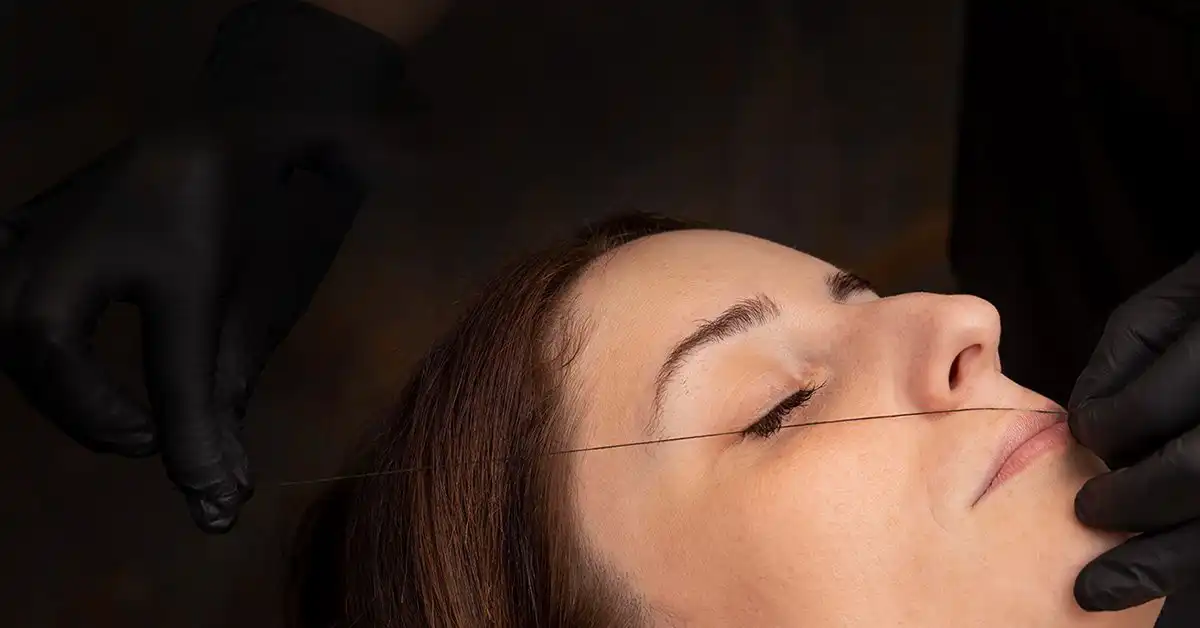
Lip blush, a popular semi-permanent makeup technique, has taken the beauty world by storm. However, with its rising popularity comes a slew of misconceptions and myths that can leave you feeling uncertain about whether it’s the right choice for you. At Brows & Lips, we believe in empowering our clients with knowledge, so let’s debunk some common lip blush myths and shed light on the facts.
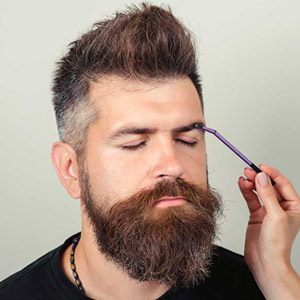
Myth 1: Lip Blush is Painful
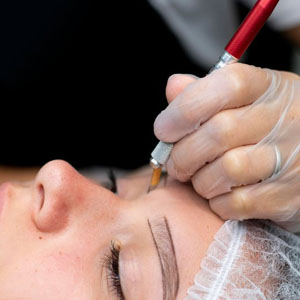
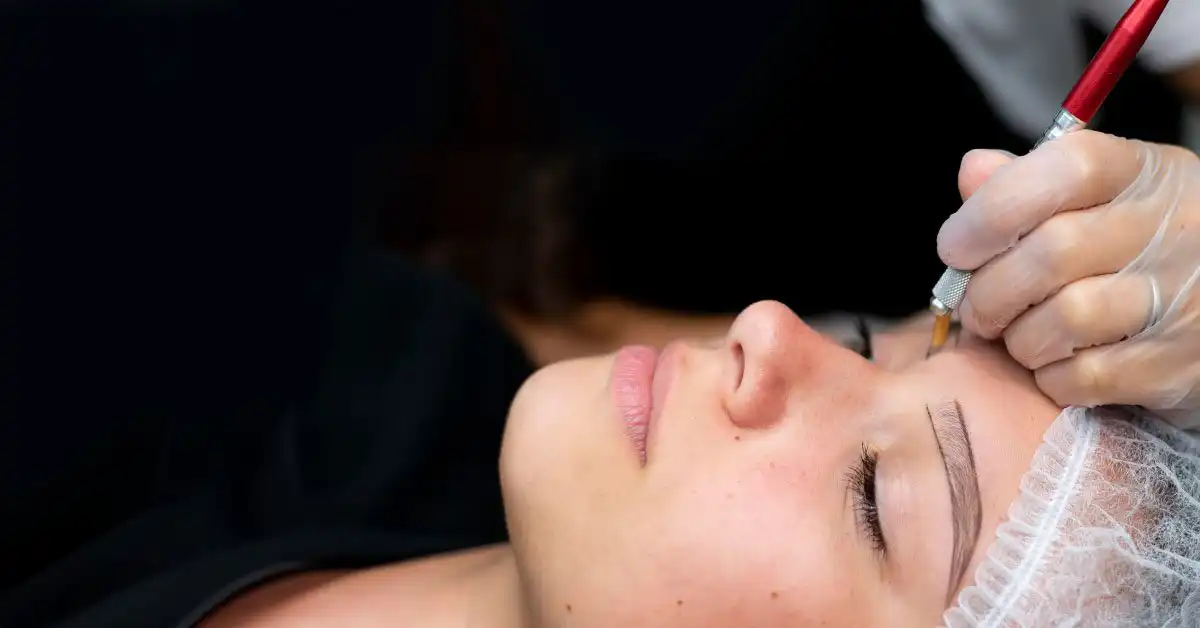
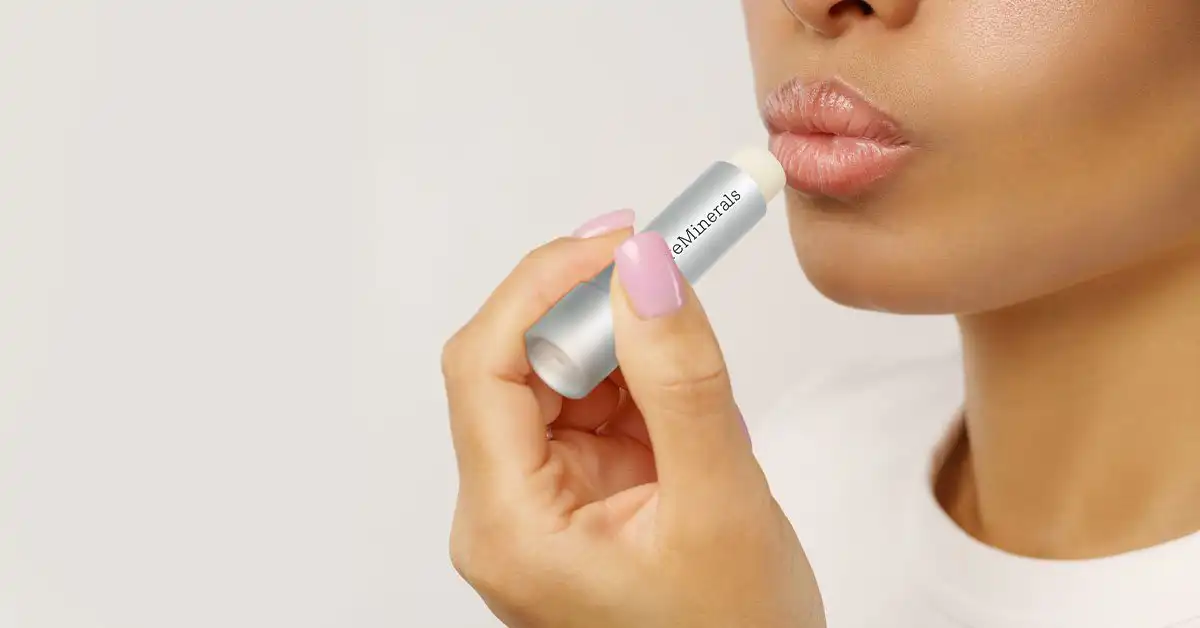
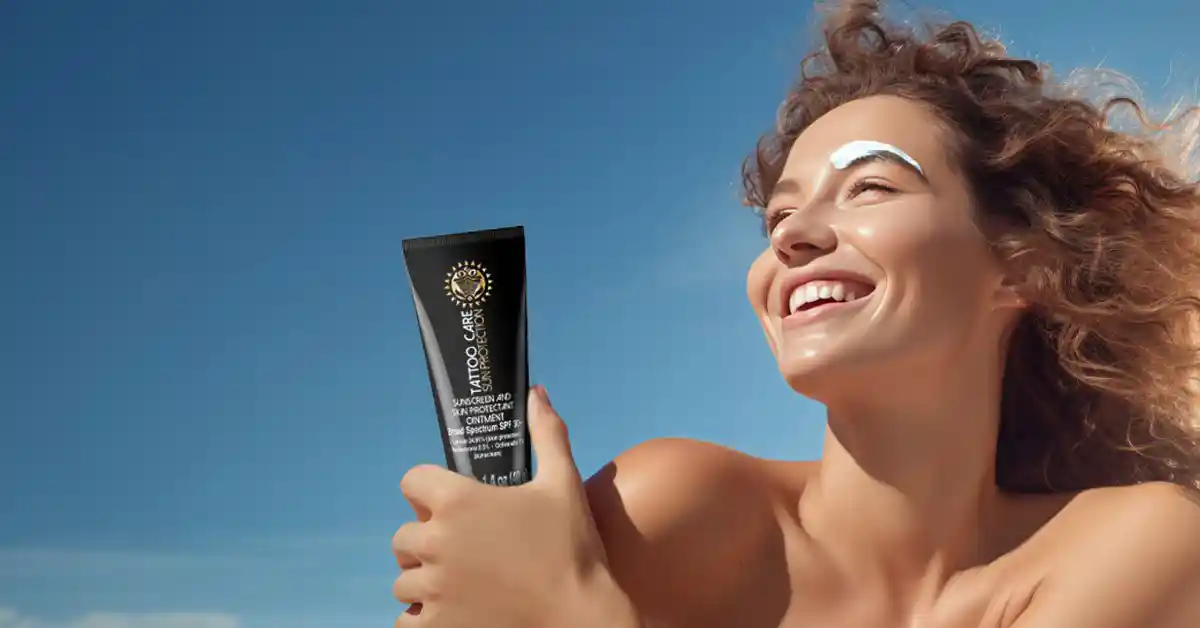
Fact: While everyone’s pain tolerance is different, most clients find lip blush to be a relatively comfortable procedure. At Brows & Lips, we use topical numbing creams to ensure your comfort throughout the process. The sensation is often described as a mild tingling or scratching.
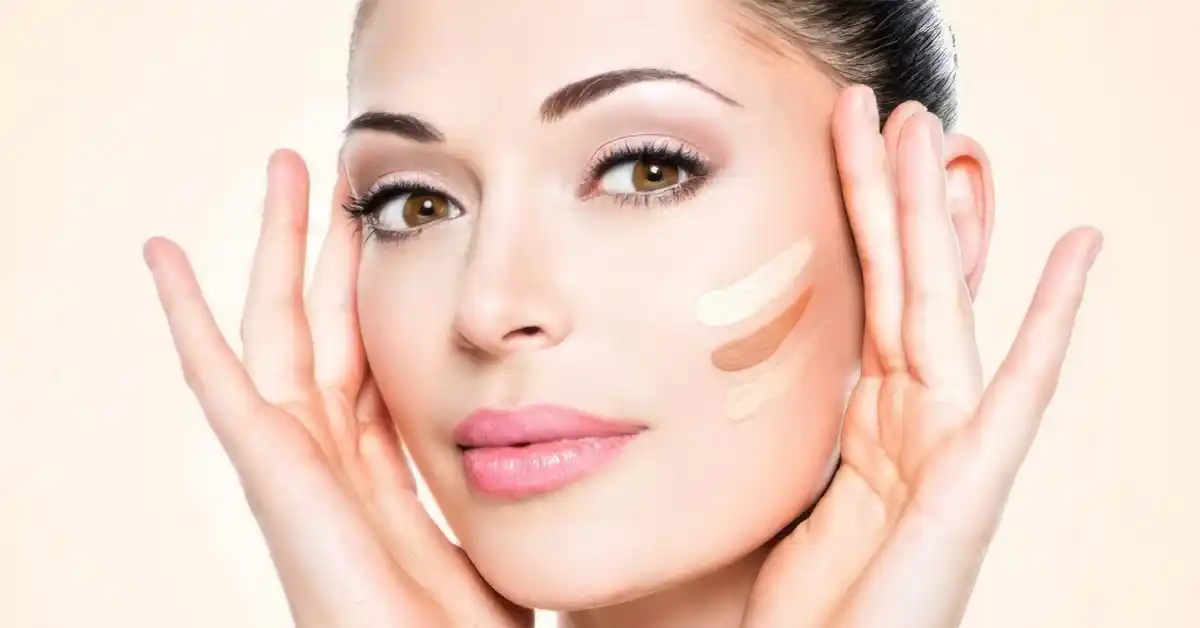
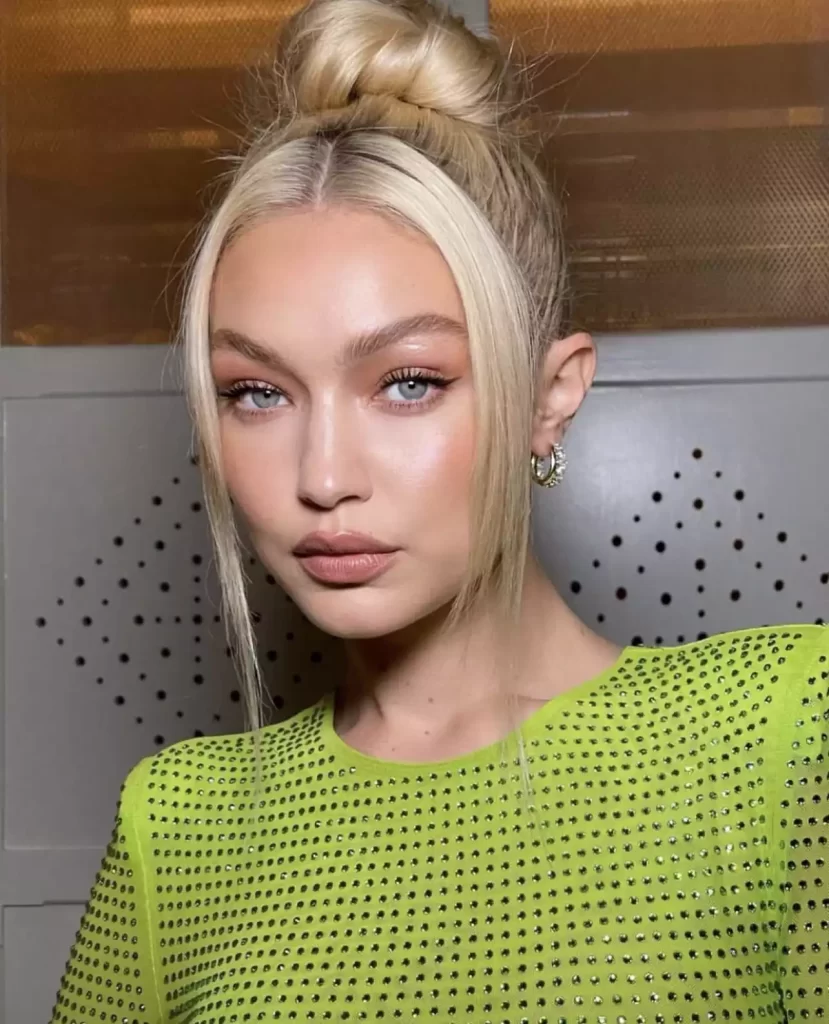
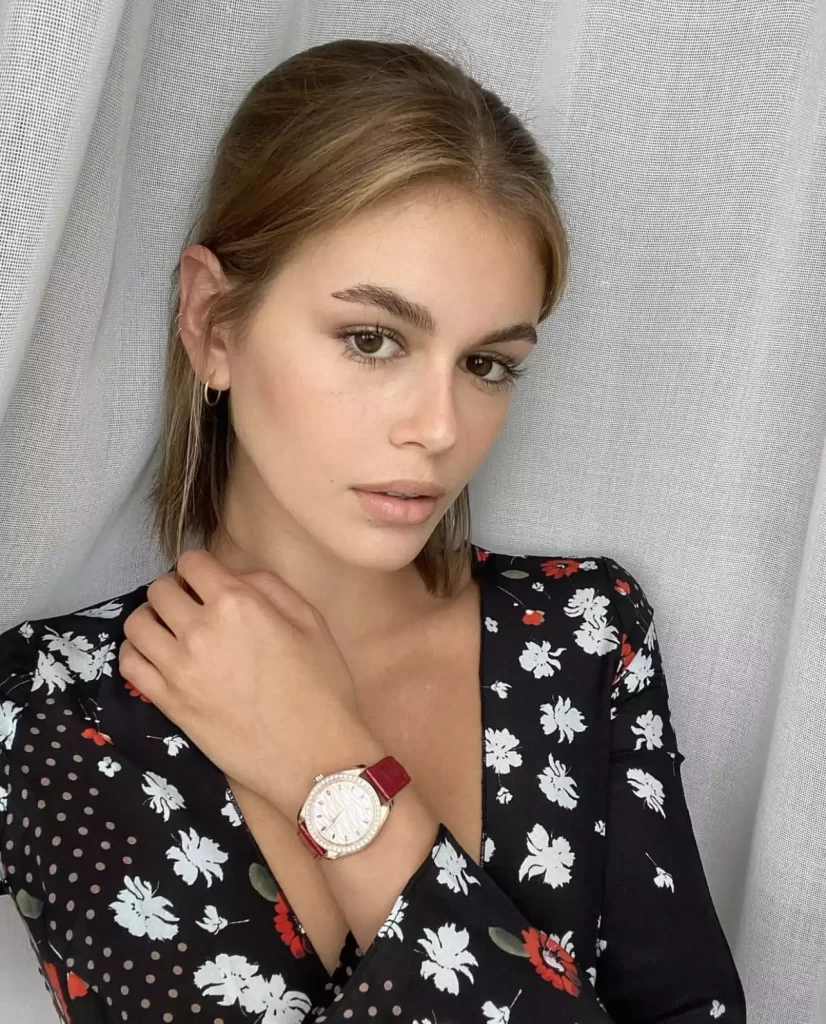
Myth 2: Lip Blush Looks Unnatural
Fact: When done correctly by a skilled professional, lip blush should enhance your natural lip color and shape, not mask it. Our artists at Brows & Lips are experts in selecting the perfect pigment shade to complement your skin tone and create a subtle, natural-looking result.
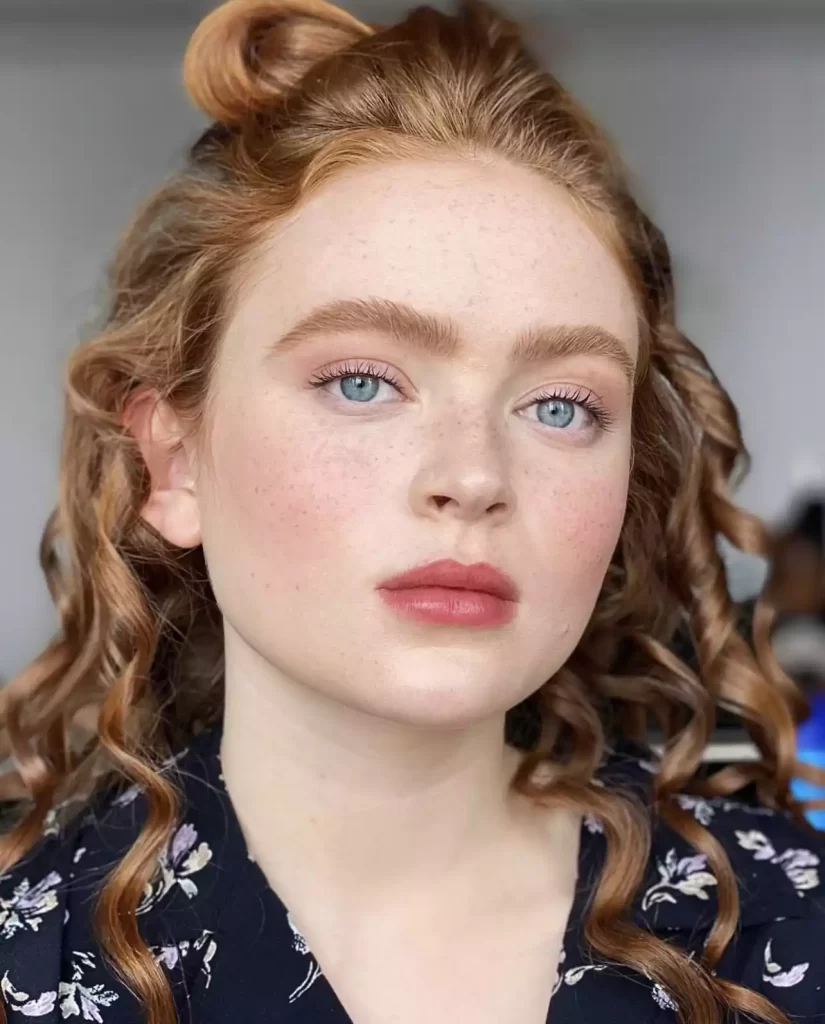
Myth 3: Lip Blush is Only for Young People
Fact: Lip blush is a versatile treatment that can benefit people of all ages. Whether you’re looking to restore youthful fullness to your lips or simply enhance your natural color, lip blush can be tailored to your individual needs and desires.
Myth 4: Lip Blush is the Same as Lip Filler
Fact: Lip blush and lip fillers are two distinct treatments that address different concerns. Lip blush focuses on enhancing color and shape, while lip fillers add volume and plumpness. At Brows & Lips, we offer both services to help you achieve your desired lip aesthetic.
Myth 5: Lip Blush Requires No Maintenance
Fact: While lip blush is a semi-permanent solution, it does require some maintenance to keep it looking its best. You may need touch-up appointments every 1-3 years to maintain the color’s vibrancy.
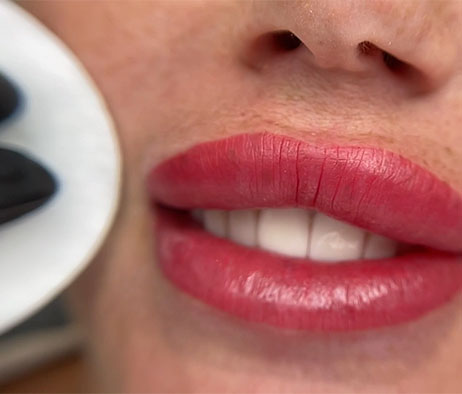
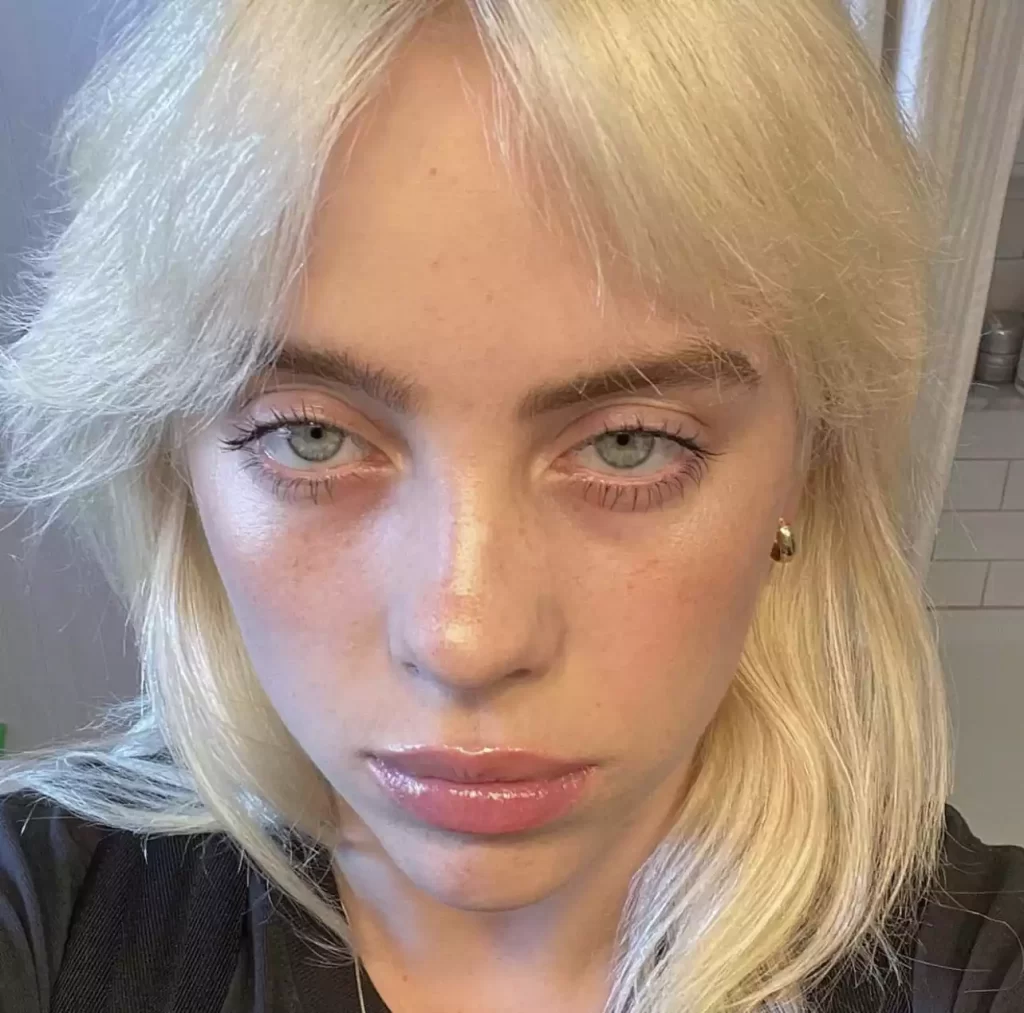
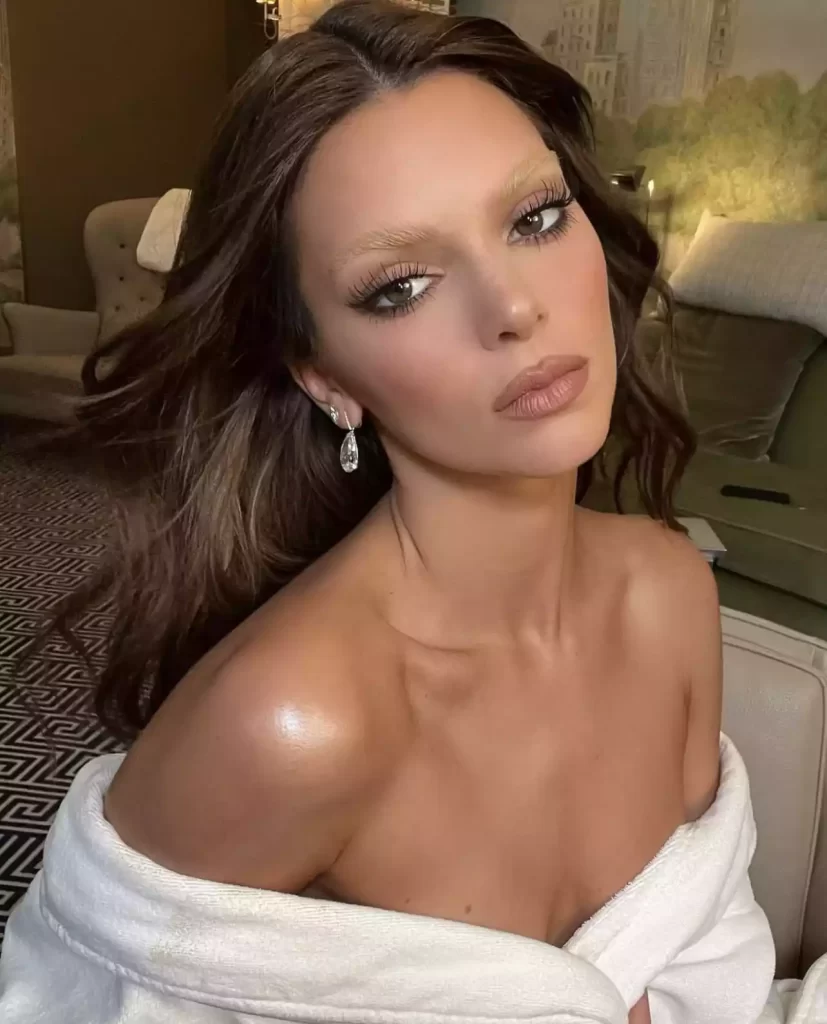
Myth 6: Lip Blush Will Look Like Lipstick
Fact: Lip blush creates a more subtle effect than lipstick, resembling a soft stain or tint. It’s designed to enhance your natural lip color, not replace it.
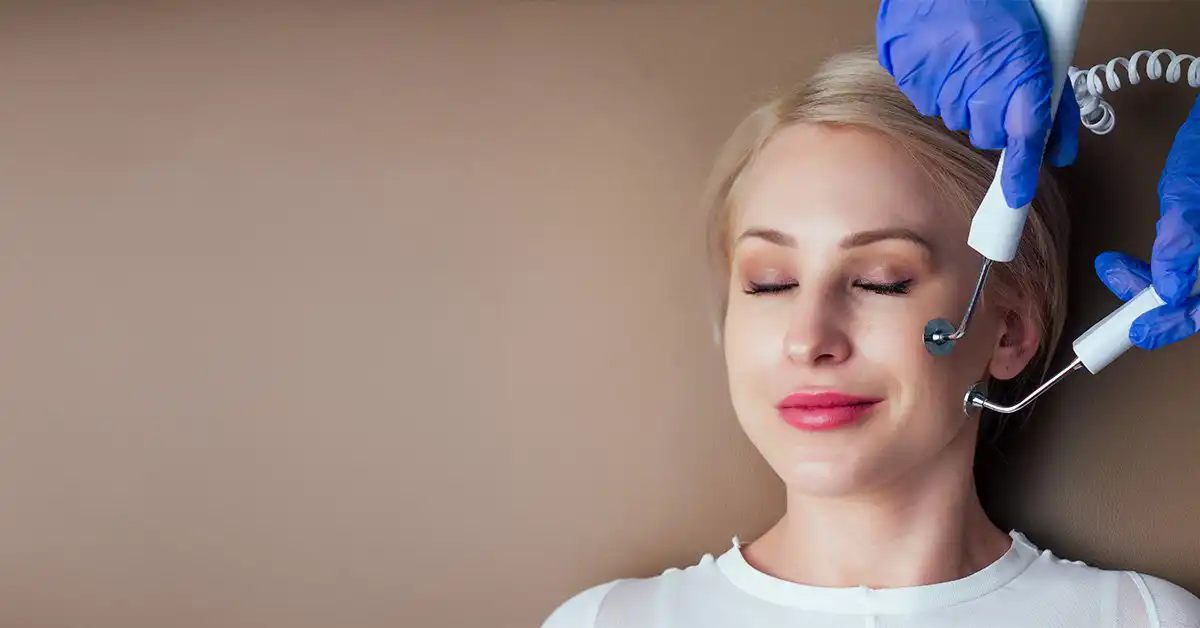
Myth 7: Lip Blush is Not Safe
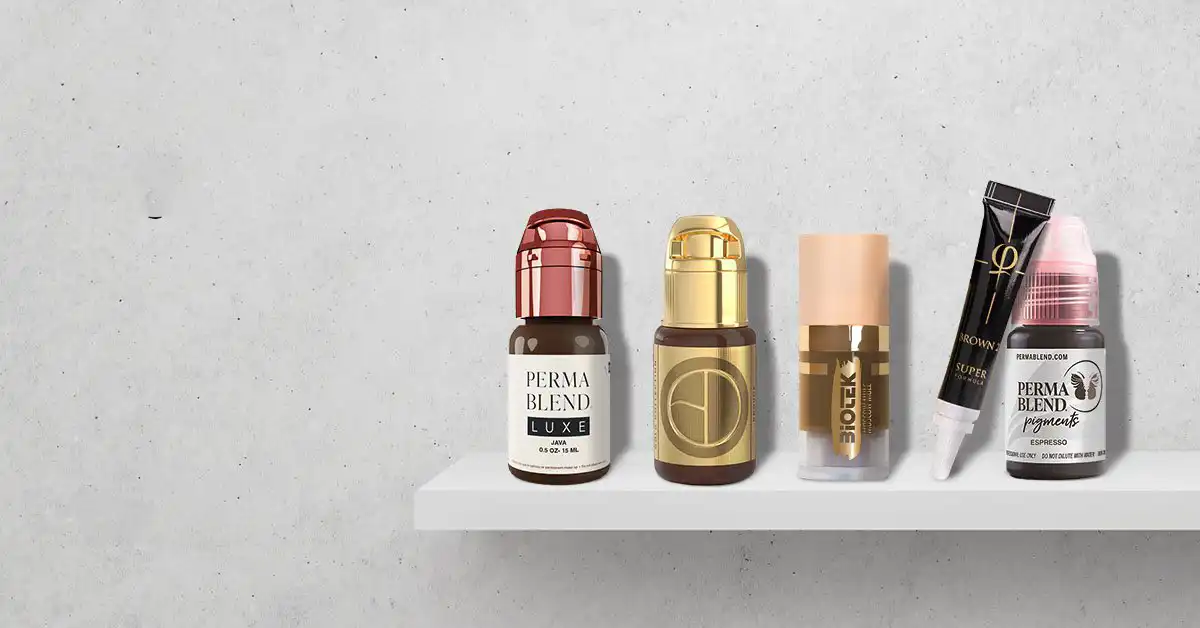
Fact: When performed by a trained and experienced professional using sterile techniques and high-quality pigments, lip blush is a safe and effective procedure. At Brows & Lips, we prioritize your safety and adhere to the highest hygiene standards.
The Brows & Lips Promise: Your Lip Blush Journey, Demystified
We understand that choosing to undergo any cosmetic procedure can be daunting. That’s why we offer comprehensive consultations where we take the time to listen to your concerns, answer your questions, and address any myths or misconceptions you may have about lip blush.
Our experienced artists will guide you through the entire process, from choosing the perfect shade to providing detailed aftercare instructions. We’re committed to ensuring that you feel informed, confident, and excited about your lip blush journey.
Embrace Your Natural Beauty, Enhanced
Lip blush is more than just a cosmetic procedure; it’s a confidence booster that can enhance your natural beauty and simplify your daily routine. With the expertise and dedication of Brows & Lips, you can achieve stunning, long-lasting results that empower you to embrace your unique beauty and feel your absolute best.
Don’t let myths and misconceptions hold you back from experiencing the transformative power of lip blush. Contact us today to schedule your personalized consultation and discover how we can help you achieve the perfect pout.
FAQs on Lip Blush: Separating Fact from Fiction
What is lip blush?
Lip blush is a semi-permanent makeup technique that enhances the natural color and shape of your lips.
Does lip blush hurt?
Most clients find it comfortable due to topical numbing creams, with sensations often described as mild tingling or scratching.
Will lip blush look unnatural?
No, when done by a skilled professional, lip blush enhances your natural lip color and shape for a subtle, natural look.
Is lip blush only for young people?
No, lip blush is suitable for people of all ages, whether you want to restore youthful fullness or enhance natural color.
Is lip blush the same as lip filler?
No, lip blush enhances color and shape, while lip fillers add volume and plumpness.
Does lip blush require maintenance?
Yes, touch-up appointments every 1-3 years are recommended to maintain the color’s vibrancy.
Will lip blush look like lipstick?
No, lip blush creates a subtle effect, resembling a soft stain or tint rather than a full lipstick look.
Is lip blush safe?
Yes, when performed by trained professionals using sterile techniques and high-quality pigments, lip blush is safe and effective.
How long does a lip blush procedure take?
The procedure typically takes about 1.5 to 2 hours, including consultation and numbing time.
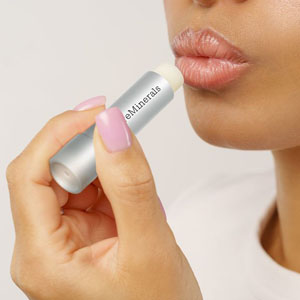
How do I care for my lips after a lip blush procedure?
Follow the aftercare instructions provided by your artist, which usually include keeping lips moisturized and avoiding certain activities for a few days.