Welcome to Our Blog
Expert guides, aftercare instructions, PMU tips and industry insights from Dubai's premier permanent makeup studio.
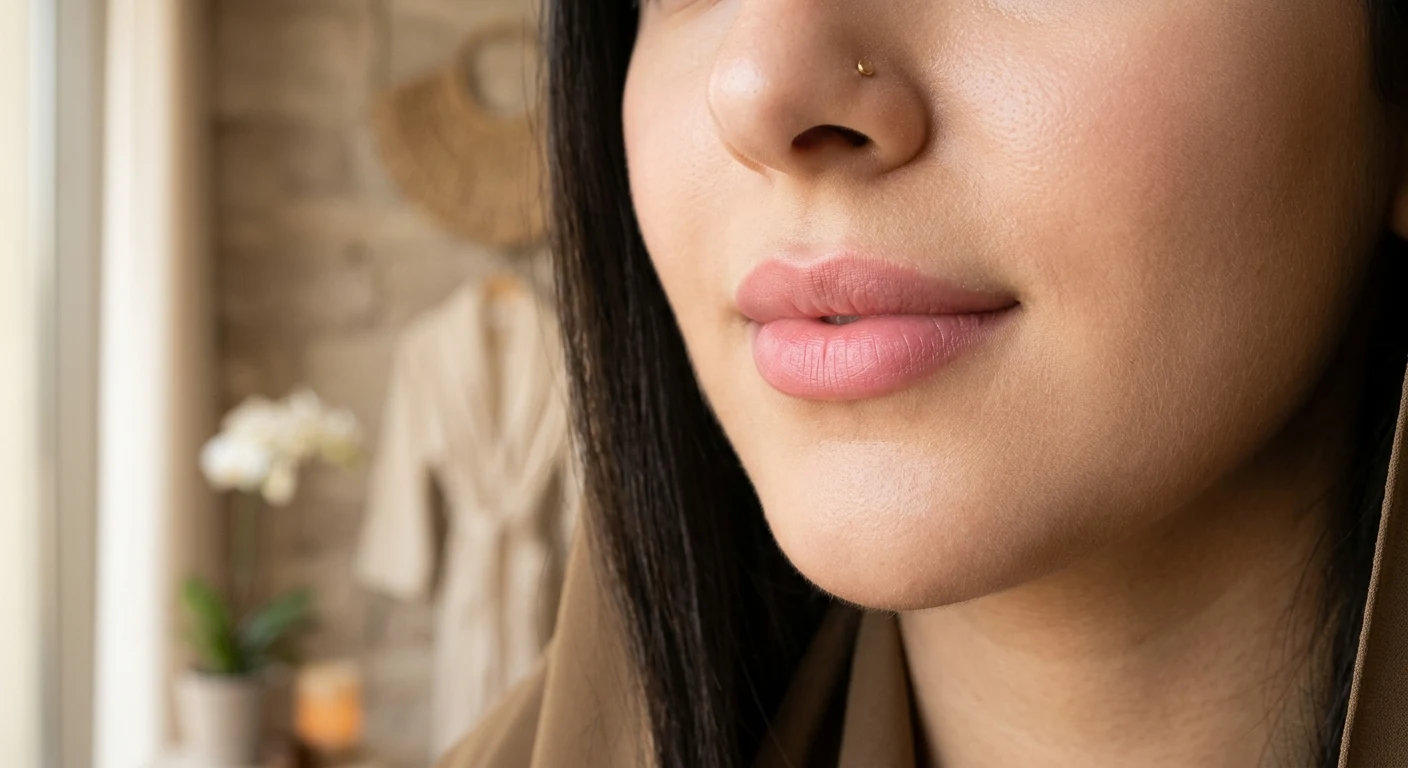
Lip Color Correction Dubai: Fix Uneven or Faded Lip PMU
Lip color correction Dubai guide: how to fix uneven, faded, or discolored lip PMU. Methods, costs, and how Brows & Lips Studio restores natural lip tone.
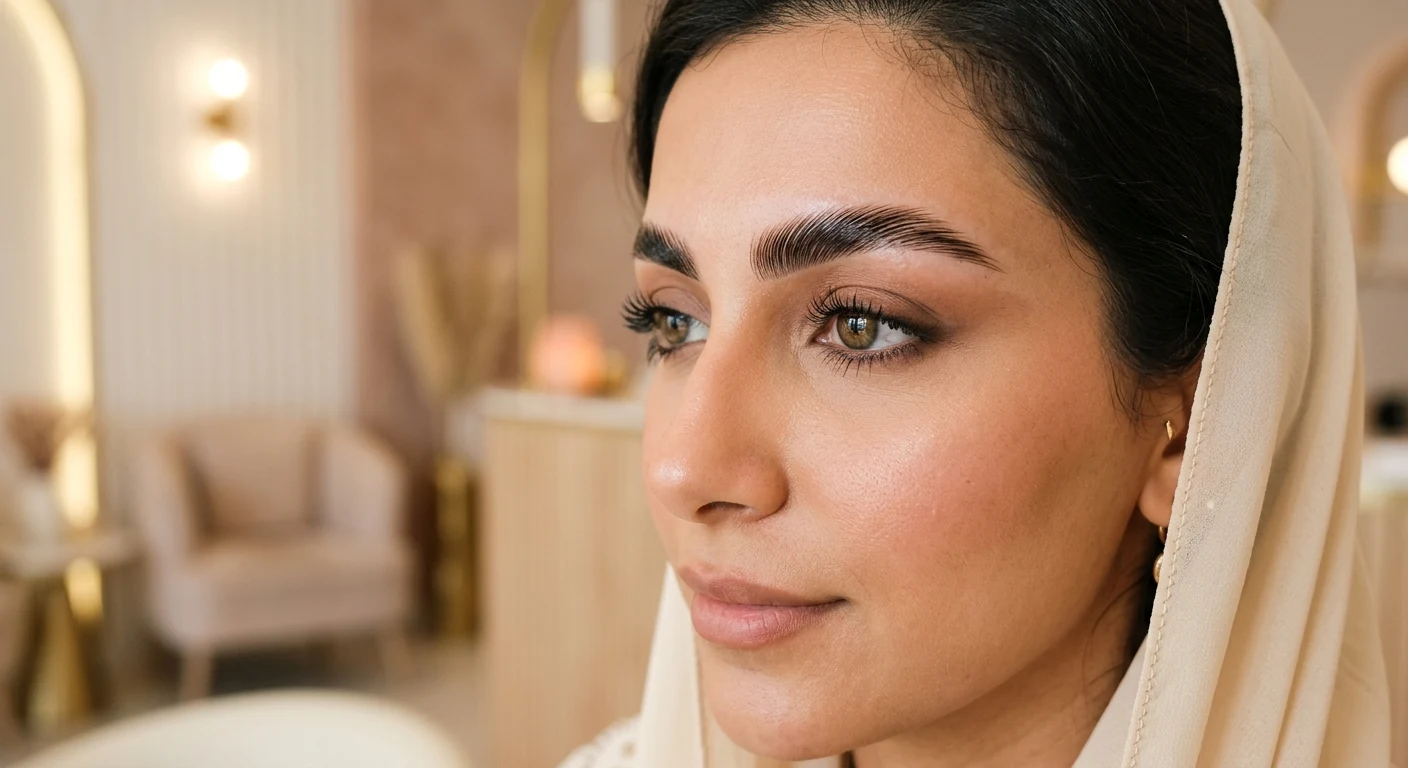
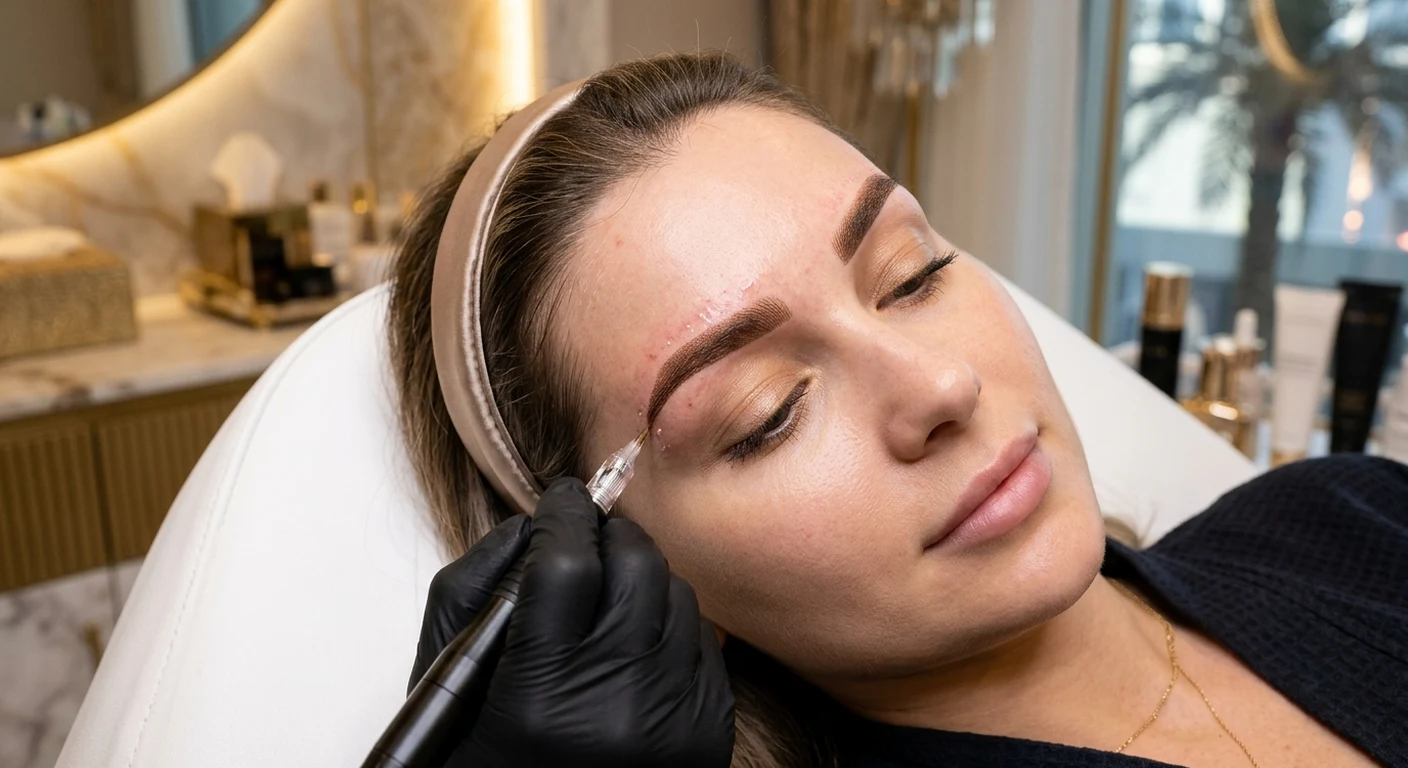
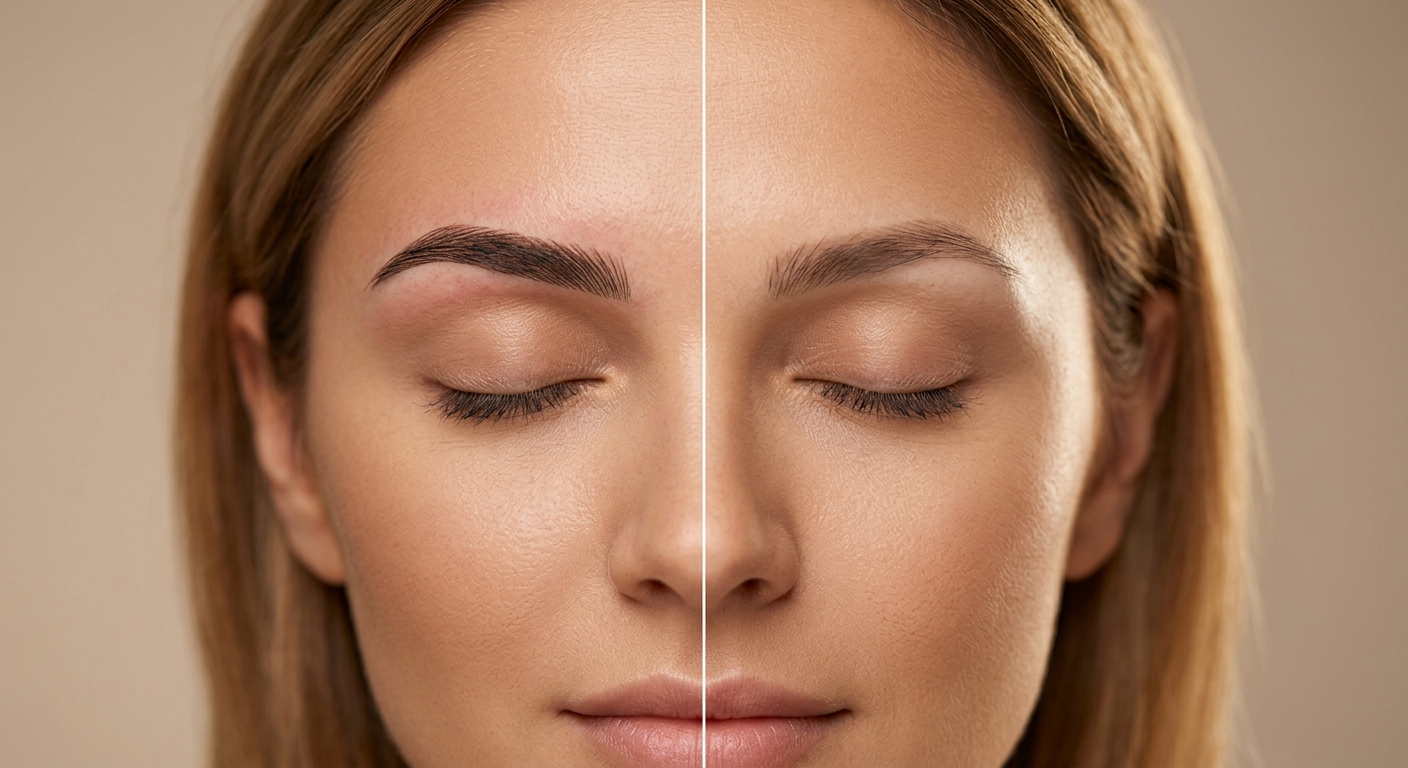
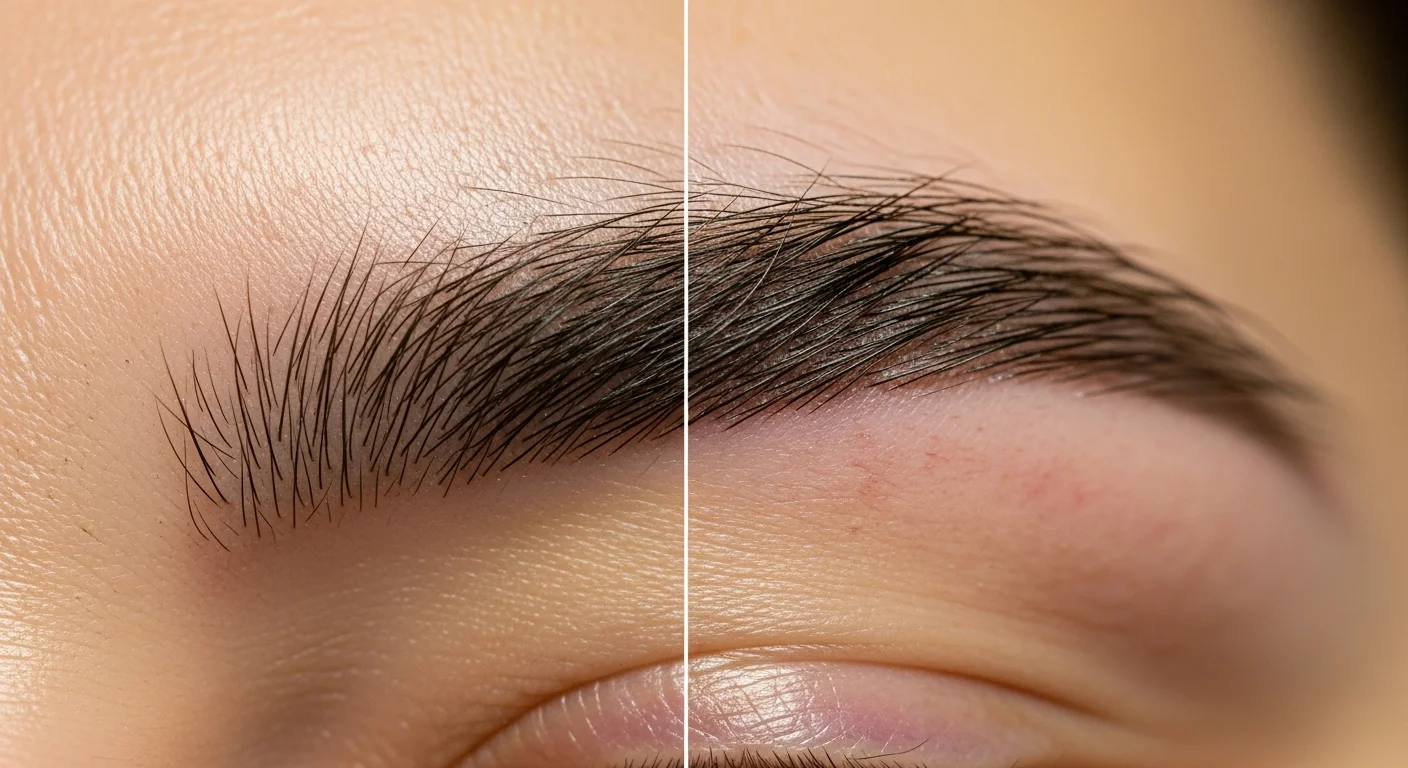
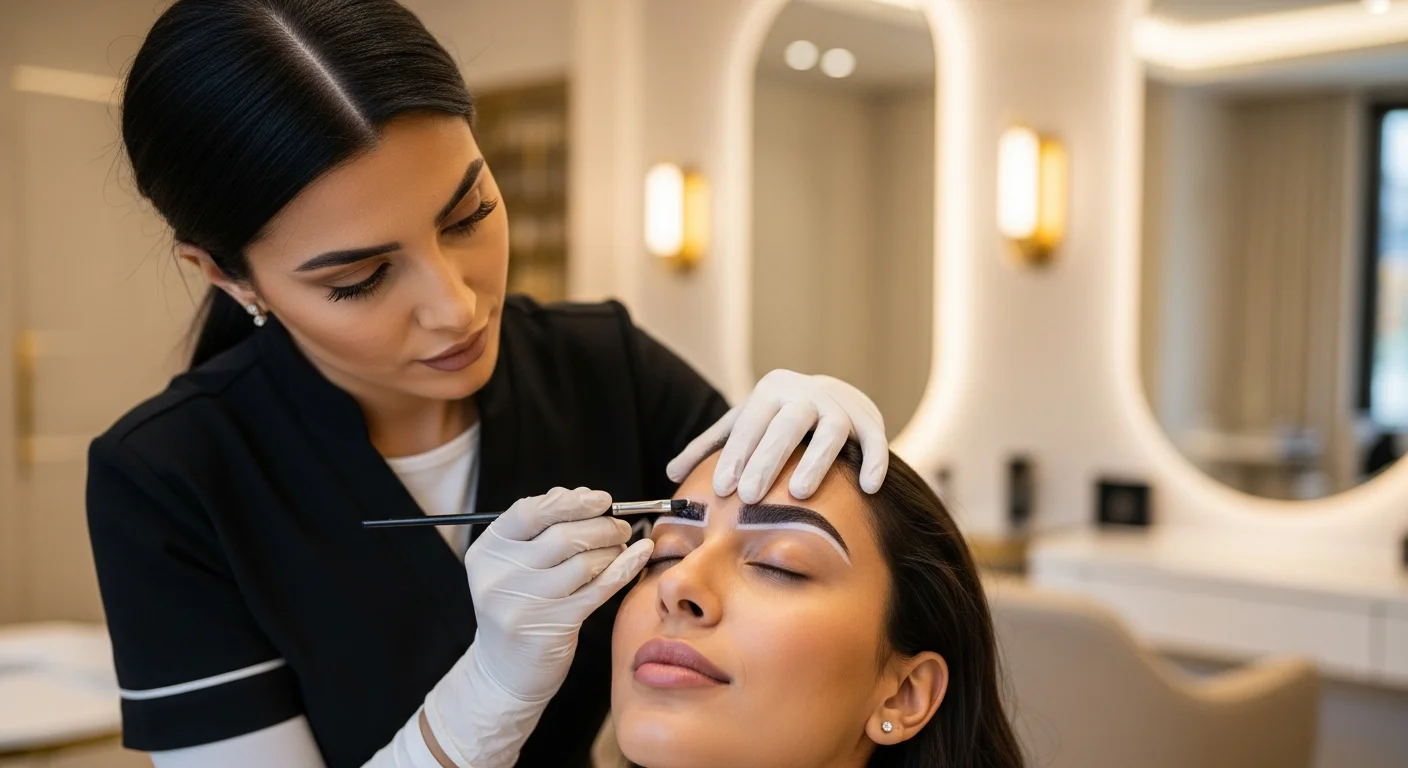
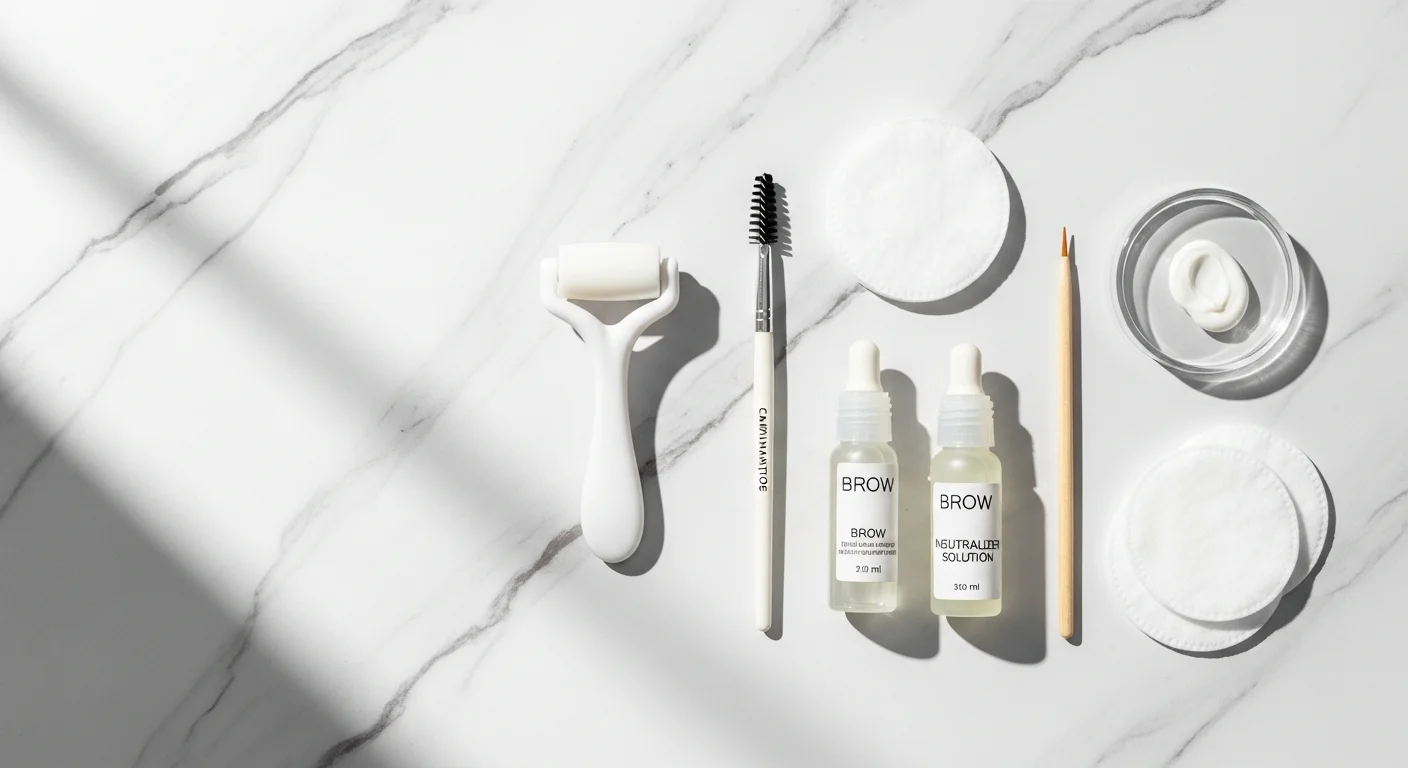
Eyebrow Lamination Dubai: Complete Guide to Feathered Brows
Eyebrow lamination Dubai guide covering the process, cost, aftercare, ideal candidates, and how feathered brows compare with microblading.
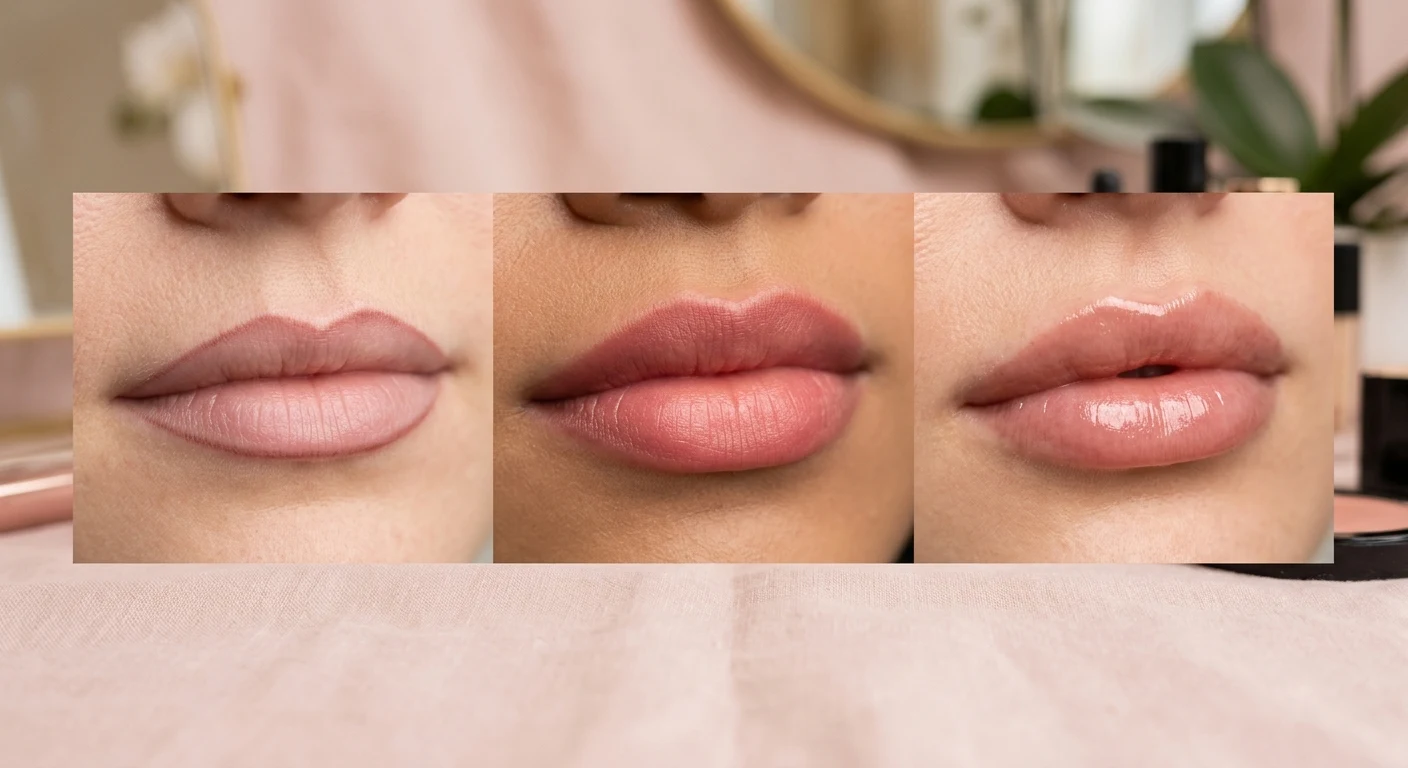
Lip Blush Treatment Dubai: Healing, Cost, and Shade Selection Guide
Lip blush treatment Dubai: complete guide to healing timeline, 2026 cost, shade selection for every skin tone, and aftercare from Brows & Lips experts.
Eyebrow Tattoo Removal Dubai: Laser vs Saline vs Surgical Compared
Eyebrow tattoo removal Dubai: laser vs saline vs surgical compared by DHA-licensed experts. Cost, healing timeline, what to expect from a Dubai PMU studio.
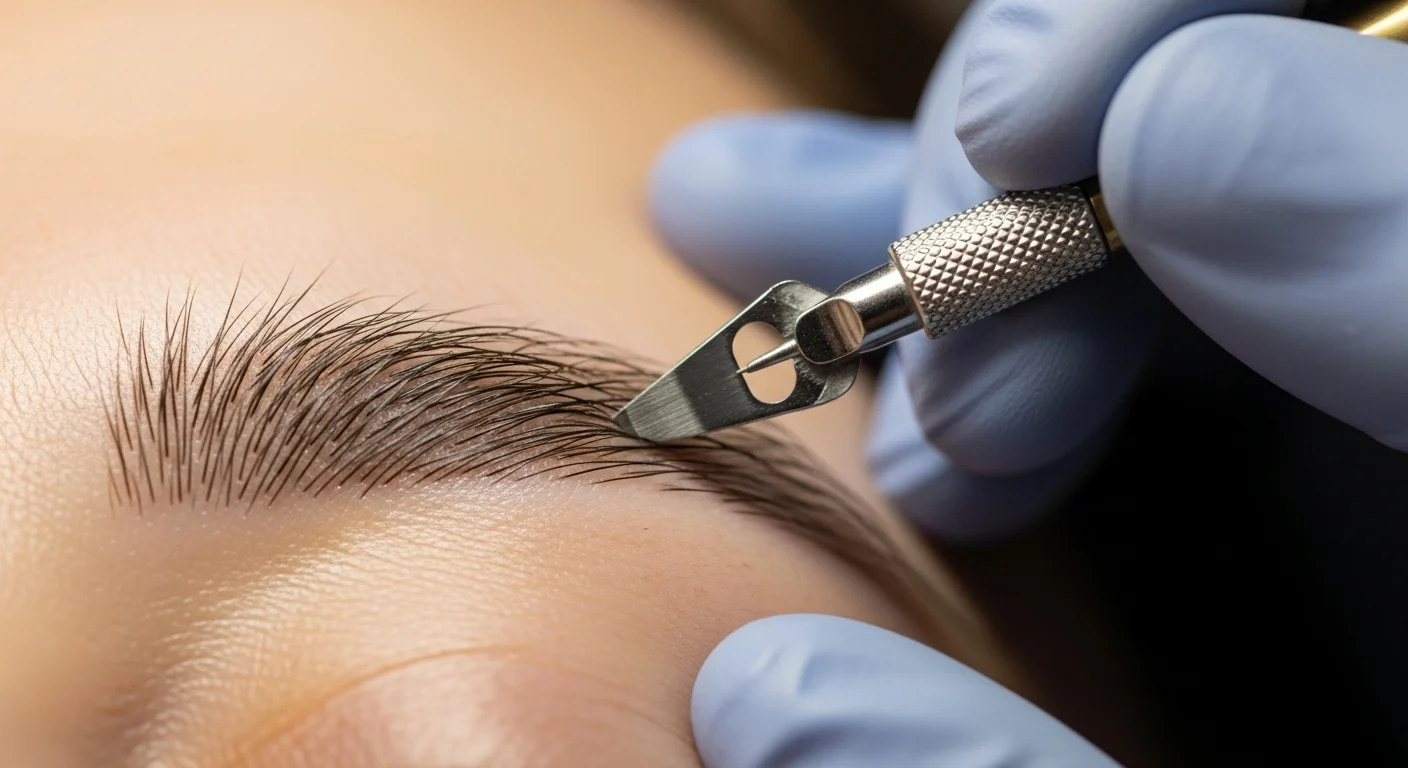
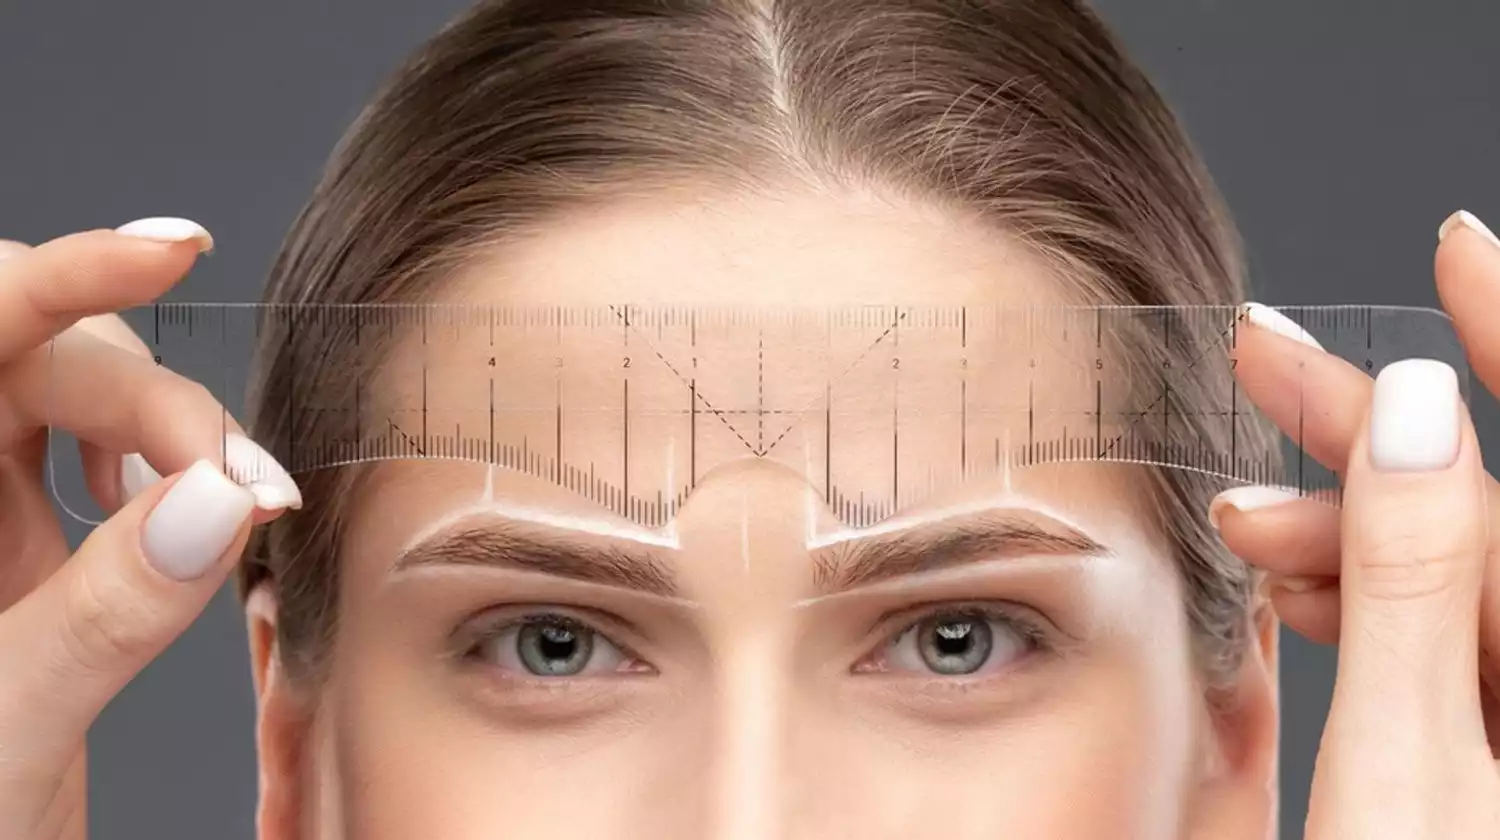
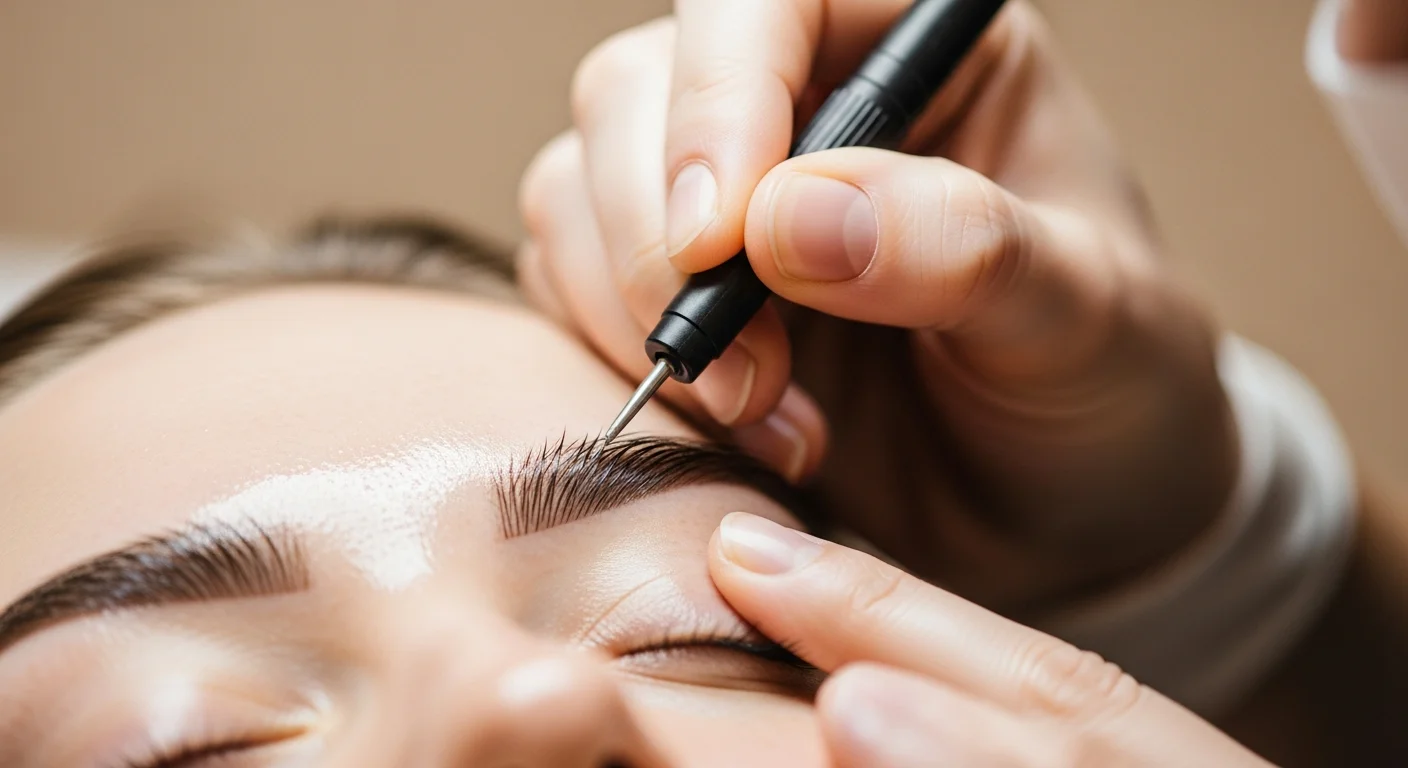
Microblading Dubai: Complete 2026 Guide for First-Time Clients
Microblading Dubai 2026 first-time guide: what to expect, how to choose a studio, healing timeline, aftercare and cost from DHA-licensed Brows & Lips experts.

SMP Aftercare Day 1–30: Healing Timeline, Products, and What to Avoid in Dubai
Complete SMP aftercare day-by-day guide for Dubai clients. Healing timeline for days 1-30, best sulfate-free products, sun protection rules, and what to avoid.
Permanent Lip Liner Dubai: Comparing Lip Blush, Lip Tattoo and Lip Filler
Permanent lip liner Dubai comparison: how lip blush, lip tattoo and lip filler differ — finish, longevity, healing, cost, and which treatment fits your goals.
Microshading Dubai: Complete Guide to Powder-Shaded Brows, Cost, and Healing
Microshading Dubai — your complete guide to powder-shaded brows. Learn the technique, expected cost, healing stages, and how microshading differs from microblading.
PMU Fading and Touch-Up Guide: Why Permanent Makeup Fades in Dubai
PMU fading is natural — here's why it happens, when to book touch-ups, and how to maintain your permanent makeup in Dubai for lasting results.
Brazilian Microblading Guide — Fio a Fio Technique in Dubai
Brazilian microblading (Fio a Fio) in Dubai: ultra-fine hair strokes for natural brows. Complete guide to the technique, healing, cost, and results.
Fix Bad Microblading: Complete Correction Guide for Botched Brows
Complete guide to fix bad microblading in Dubai. Learn about colour correction, saline removal, laser removal, camouflage, and how to choose the right artist.
Korean Lash Lift: What It Is and Why Dubai Clients Love It
Discover why Dubai clients are choosing Korean lash lift for natural, lifted lashes without extensions. Learn the process, benefits, results, and aftercare tips.
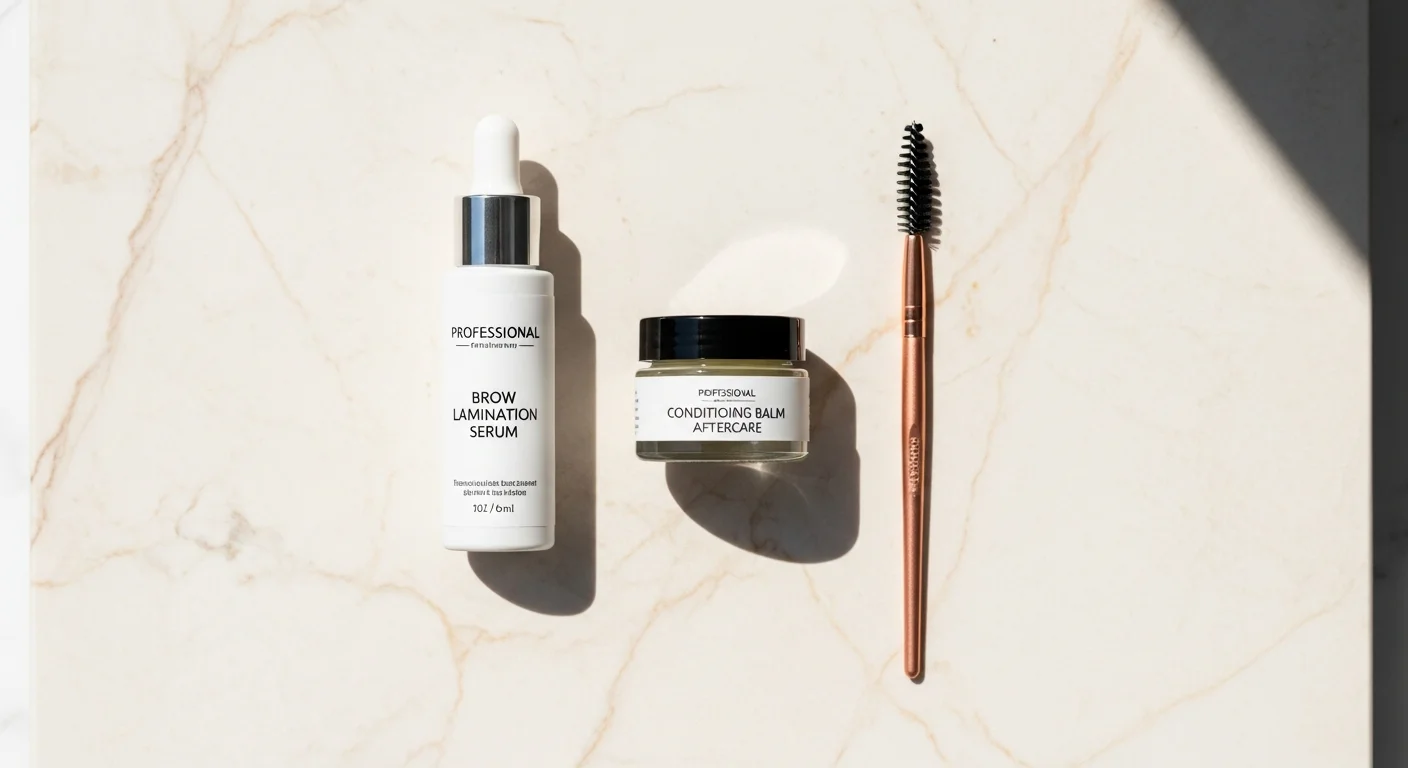
Brow Lamination Aftercare: Essential Tips for Best Results
Complete aftercare guide for brow lamination in Dubai. Tips for the first 24 and 48 hours, daily routine, common mistakes, and troubleshooting.
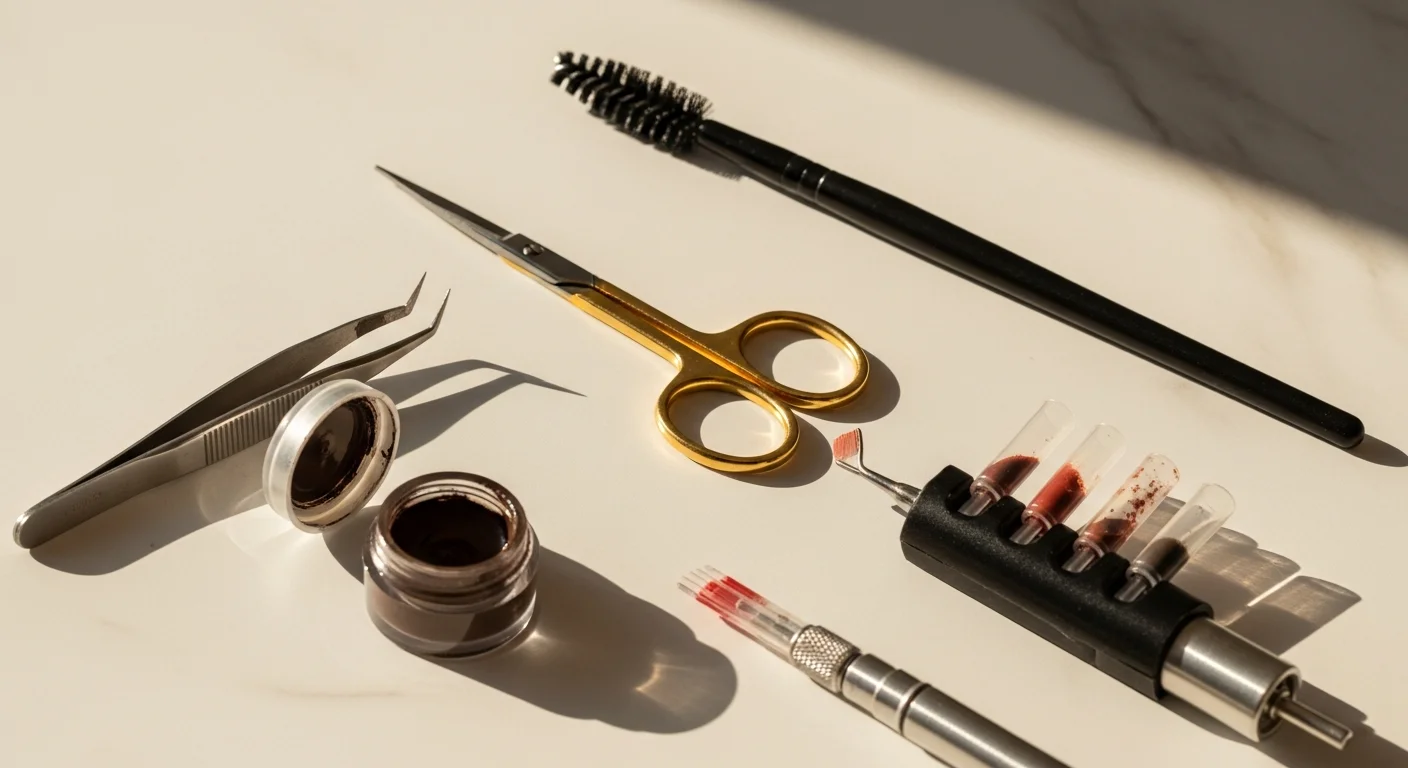
Complete Guide to Eyebrow Tinting in Dubai
Eyebrow tinting in Dubai — a complete guide covering the process, benefits, aftercare, and how long results last. Learn why Dubai women love professional brow tinting.
SPMU vs Brow Grooming: Which Treatment Is Right for You
SPMU vs brow grooming in Dubai — which brow treatment suits you? Compare semi-permanent makeup with tinting, shaping and lamination to find your perfect match.

What Happens if You Don't Touch Up Microblading?
Skipping your microblading touch-up? Learn exactly what happens — uneven fading, patchy brows, color shifts, and how to fix it if you missed your window.
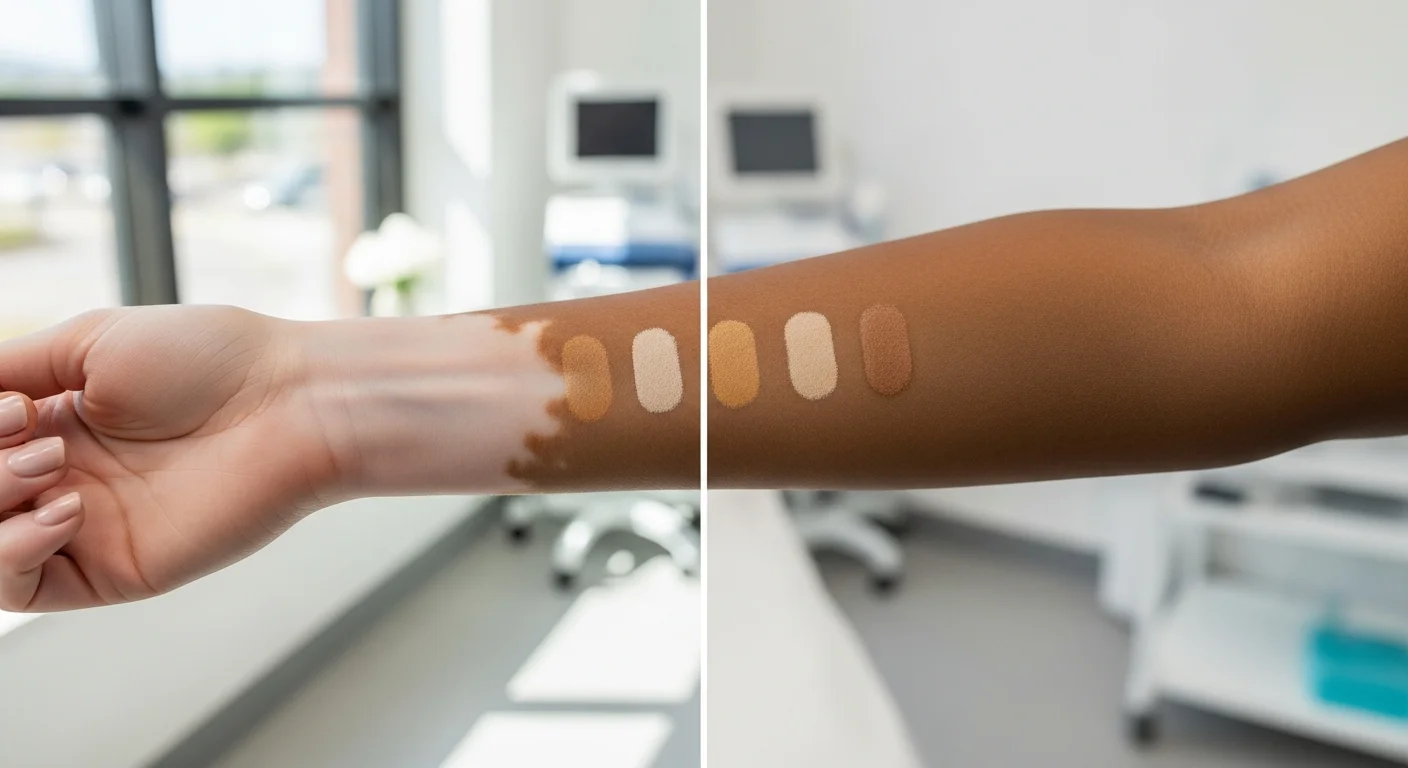
Vitiligo Camouflage Pigment Matching Guide for All Skin Tones
Vitiligo camouflage pigment matching guide for all skin types. Learn how medical micropigmentation blends white patches seamlessly at Brows and Lips Dubai.
Vitiligo Camouflage Pigment Matching Guide for All Skin Tones
Vitiligo camouflage pigment matching guide for all skin types. Learn how medical micropigmentation blends white patches seamlessly at Brows and Lips Dubai.
Semi Permanent Makeup Dubai: Complete Guide 2026
Everything you need to know about semi permanent makeup in Dubai — microblading, powder brows, lip blush, and eyeliner tattoo explained. Discover costs, procedures, healing, and aftercare tips.
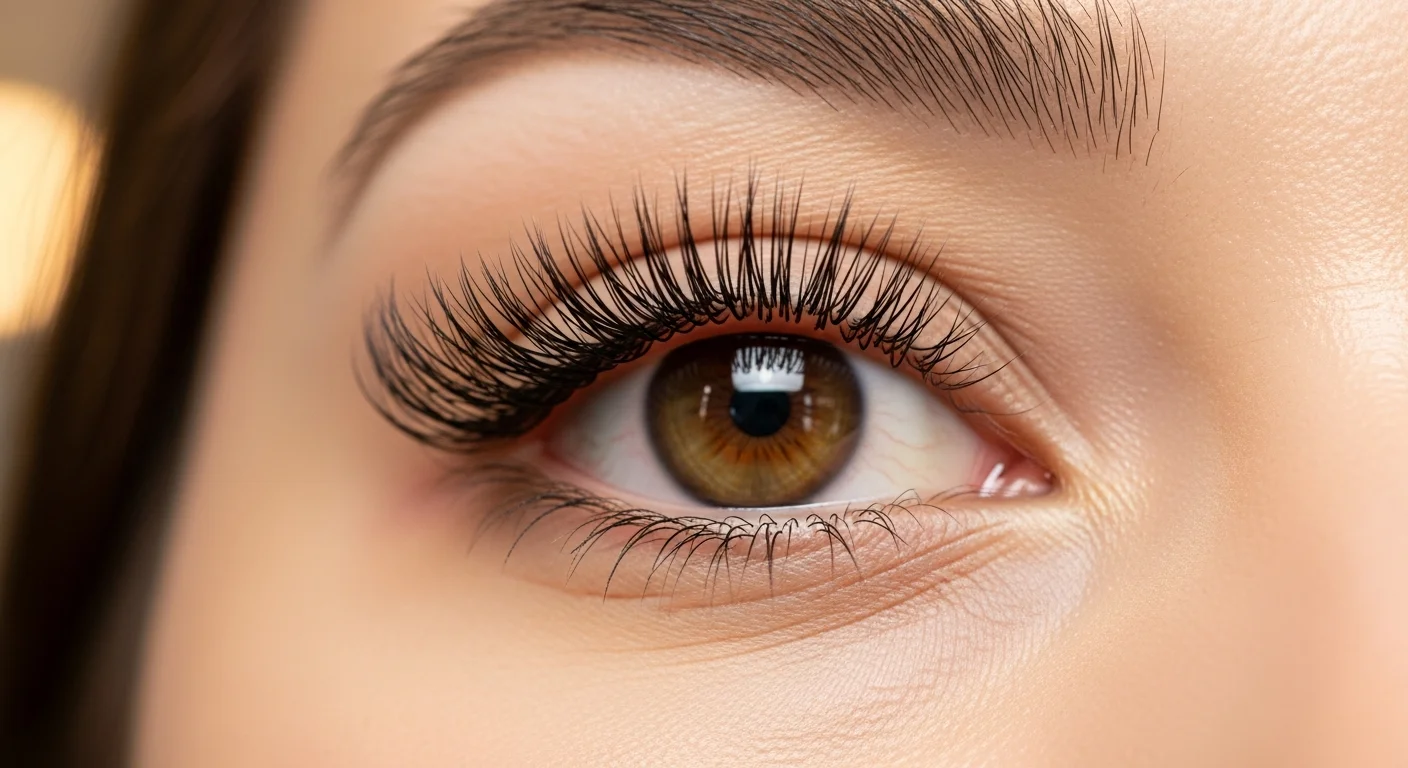
Eyelash Lamination Dubai: Complete Guide to Lash Lift & Curl
Complete guide to eyelash lamination Dubai. Learn how lash lift works, benefits, aftercare, pricing and real results at Brows and Lips Studio on Al Wasl Road.
Lip Tattoo in Dubai: Complete Guide 2026
Complete guide to lip tattoo in Dubai. Learn about procedure, cost, healing timeline, and essential aftercare tips for permanent lip makeup.
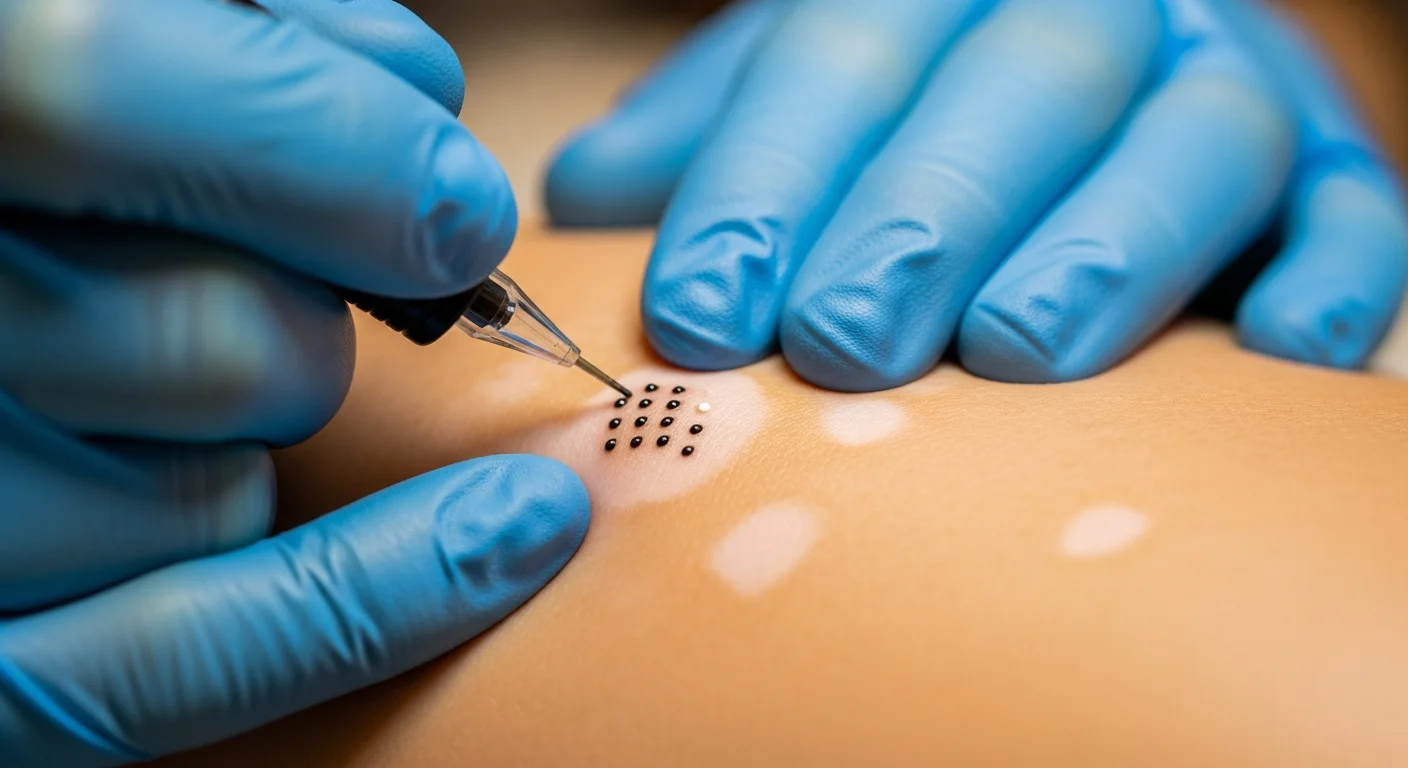
Stretch Mark Camouflage Treatment Dubai — Complete Guide
Complete guide to stretch mark camouflage treatment in Dubai. Learn how medical PMU conceals stretch marks with pigment, what to expect, healing, and results at Brows and Lips.
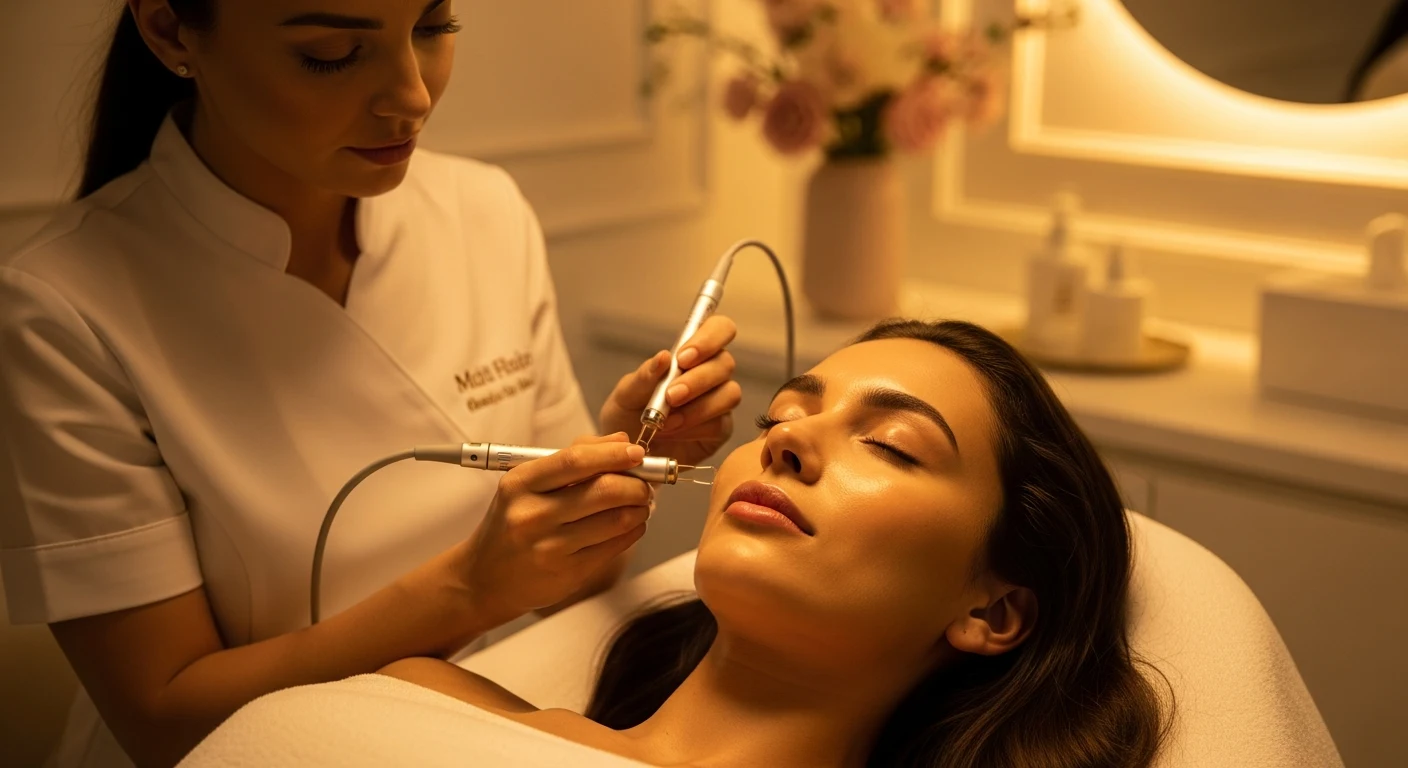
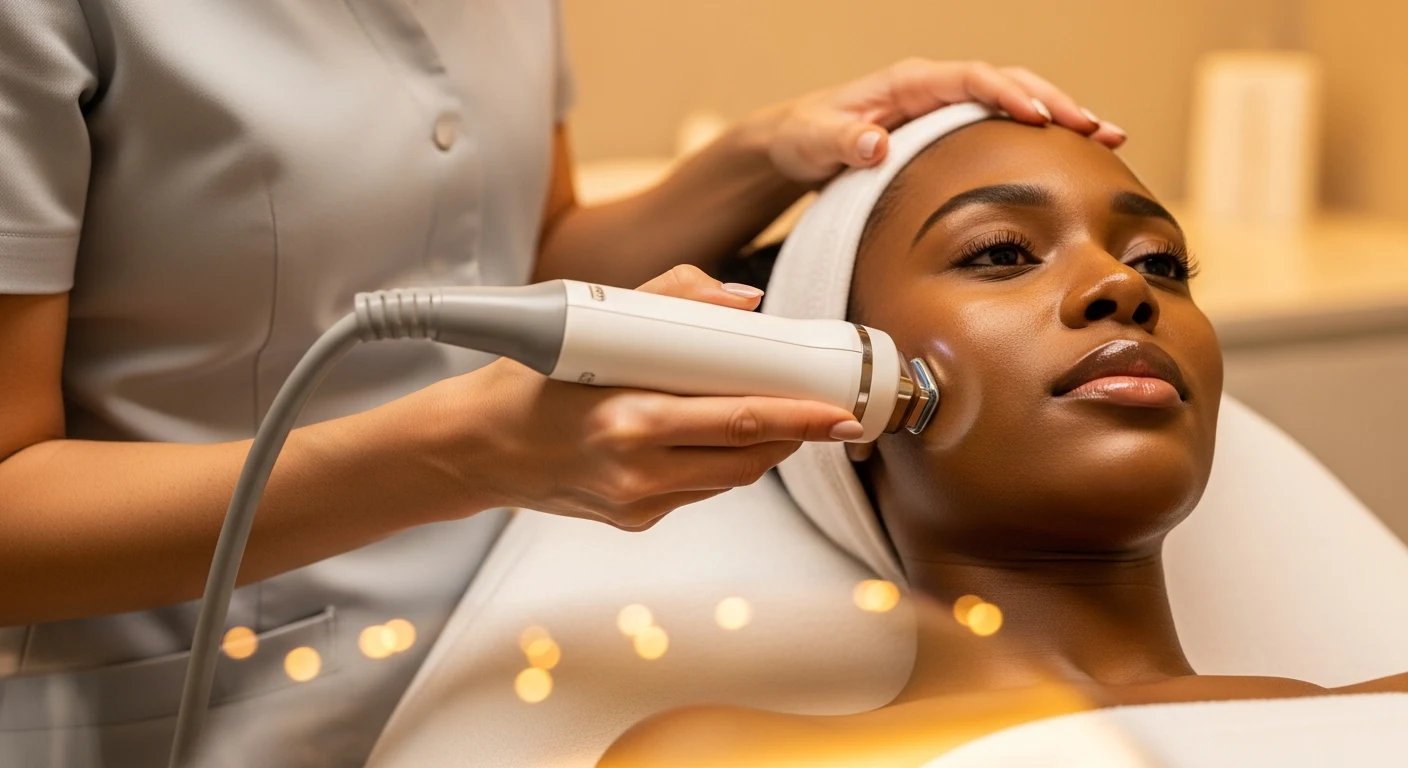
Microcurrent Facial in Dubai — Complete Guide
Complete microcurrent facial guide for Dubai. Learn how this non-invasive treatment lifts, tones, and contours your face with zero downtime at Brows and Lips Studio.
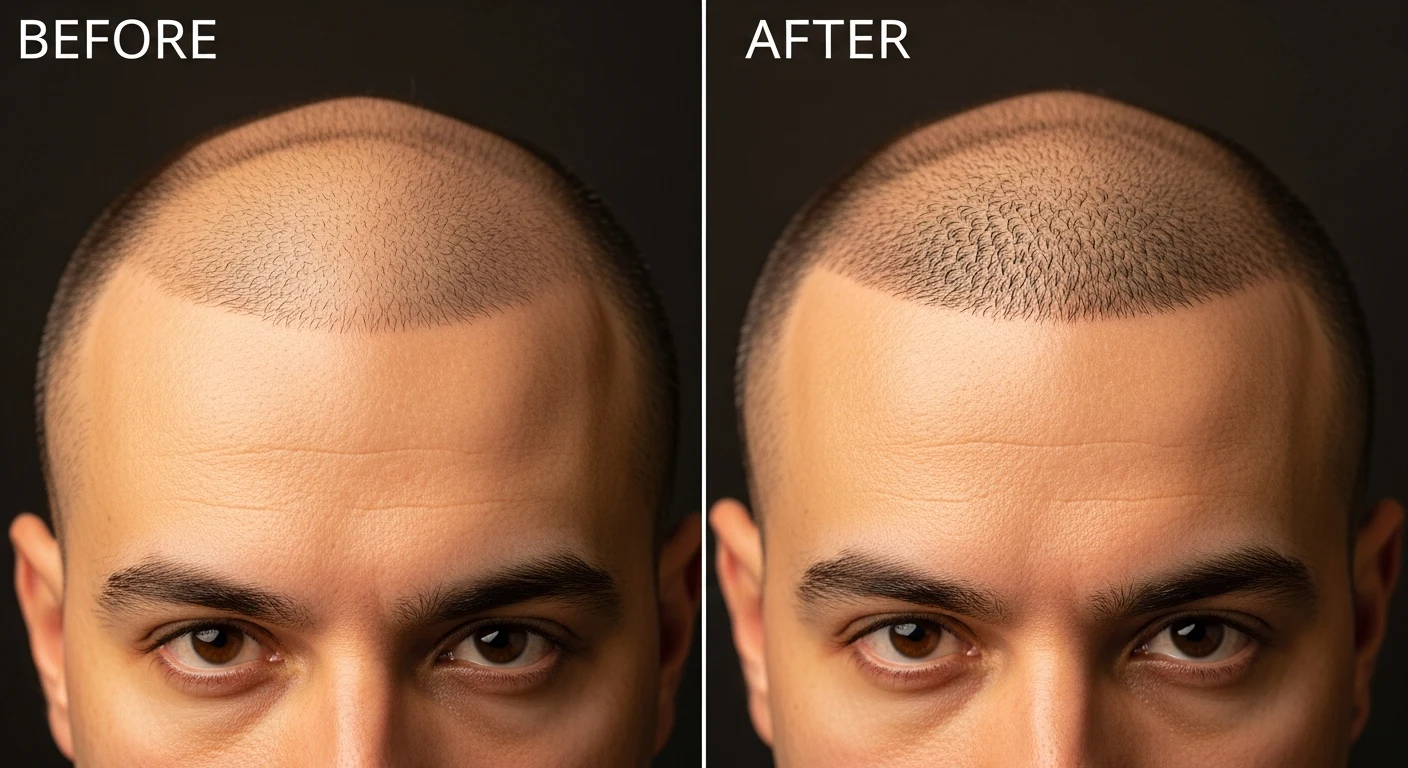
Hairline Enhancement Micropigmentation in Dubai — Complete Guide
Restore and redefine your hairline with natural-looking scalp micropigmentation in Dubai. Learn about the SMP procedure, benefits, healing, and aftercare at Brows and Lips.
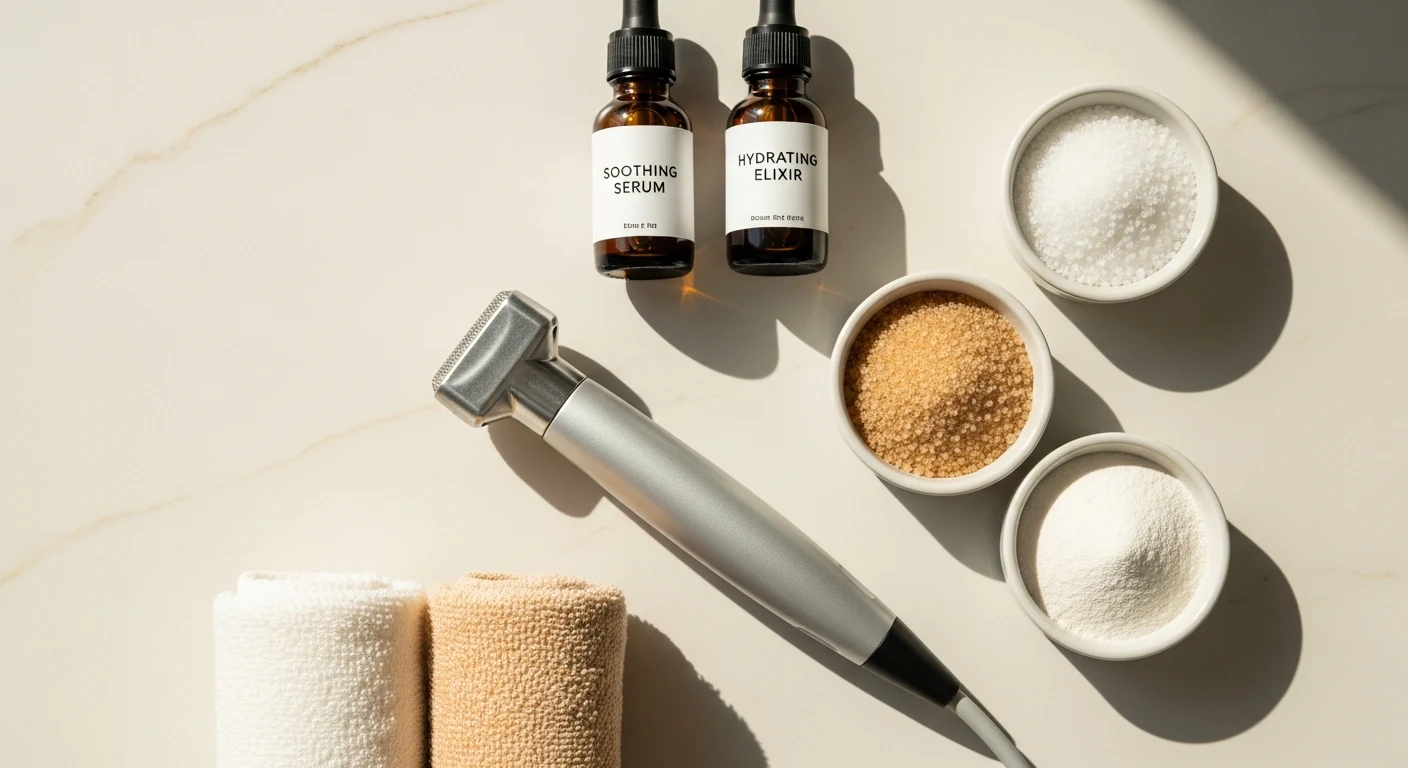
Microdermabrasion in Dubai: Complete Guide to Skin Rejuvenation
Discover the complete guide to microdermabrasion in Dubai. Learn about the process, benefits, aftercare, and results at Brows and Lips Studio.

LED Light Therapy Facial in Dubai: Complete Guide to Light-Based Skin Rejuvenation
Discover the complete guide to LED light therapy facial in Dubai. Learn how red, blue, and near-infrared light treat acne, aging, and pigmentation at Brows and Lips Studio.
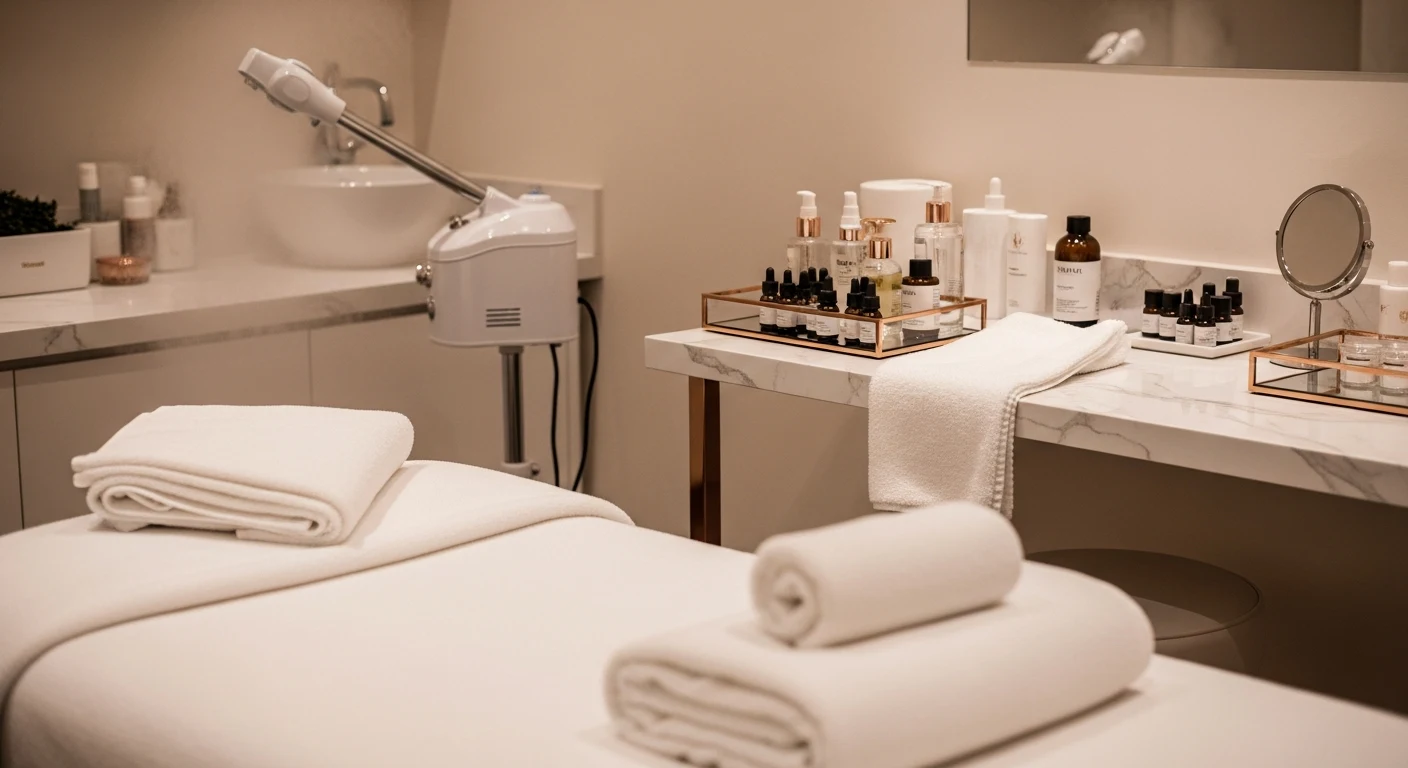
Signature Facial in Dubai: Complete Guide to Customised Skin Therapy
Discover the complete guide to the signature facial in Dubai. Learn what makes a custom facial unique, the step-by-step treatment process, key benefits, and why it is the ultimate personalised skin therapy at Brows and Lips Studio.
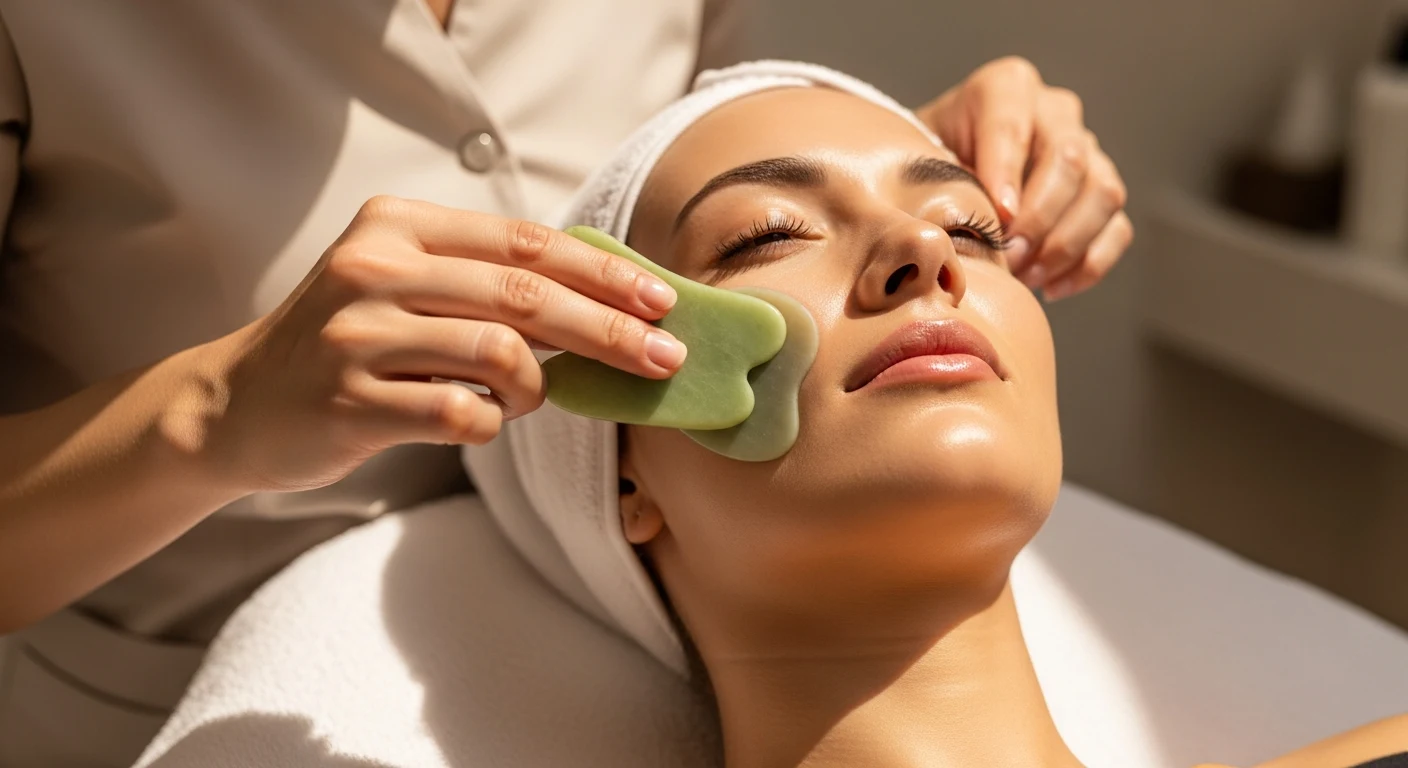
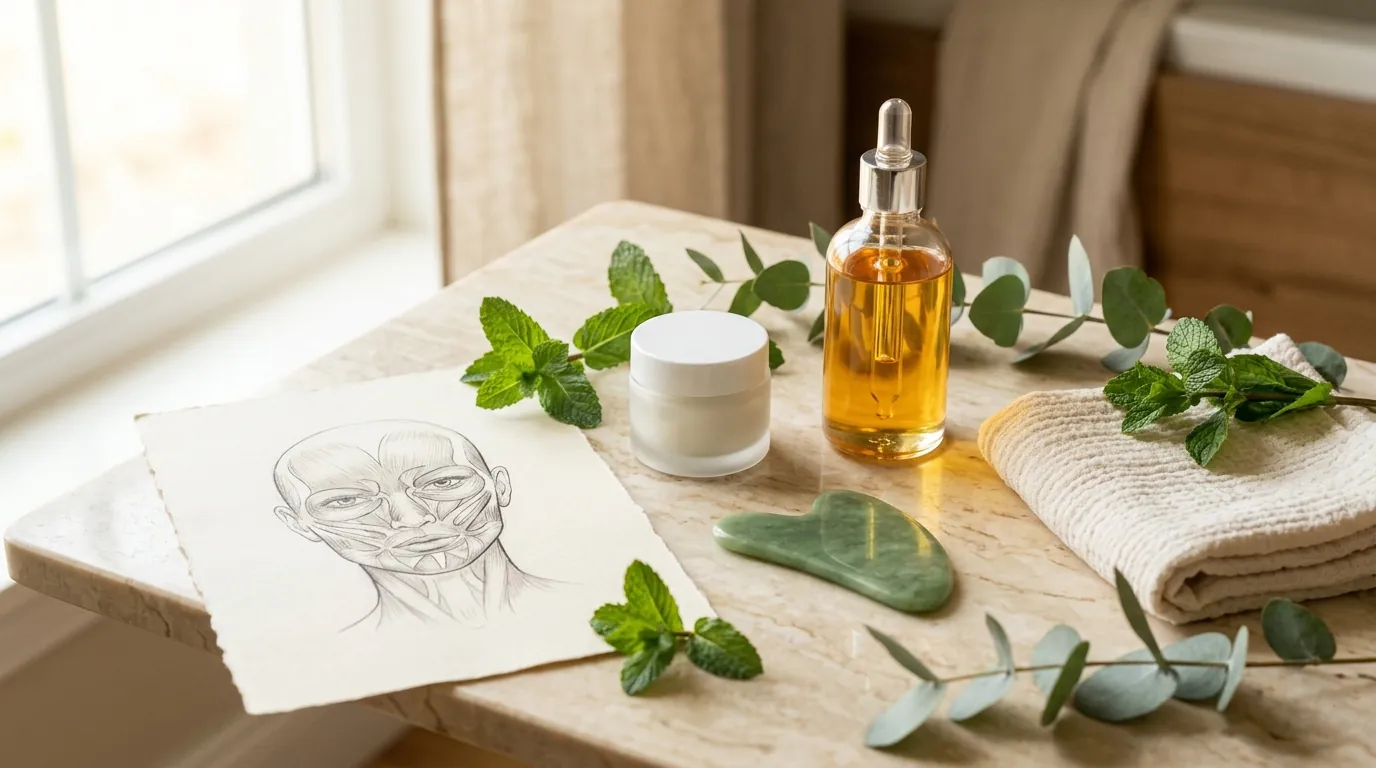
Gua Sha Facial Massage in Dubai: Complete Guide to Natural Face Lifting
Discover the complete guide to gua sha facial massage in Dubai. Learn how this ancient Chinese technique sculpts, lifts, and rejuvenates your face naturally at Brows and Lips Studio.
RF Skin Tightening in Dubai: Complete Guide to Radiofrequency Facelift
Discover the complete guide to RF skin tightening in Dubai. Learn how radiofrequency facelift works, benefits, treatment process, results timeline, and pricing at Brows and Lips Studio.

Lymphatic Drainage Face Massage in Dubai — Complete Guide to Facial Contouring and Detox
Discover the benefits of lymphatic drainage face massage in Dubai. Complete guide covering techniques, benefits, what to expect, and why this gentle facial massage is essential for de-puffing and glowing skin.
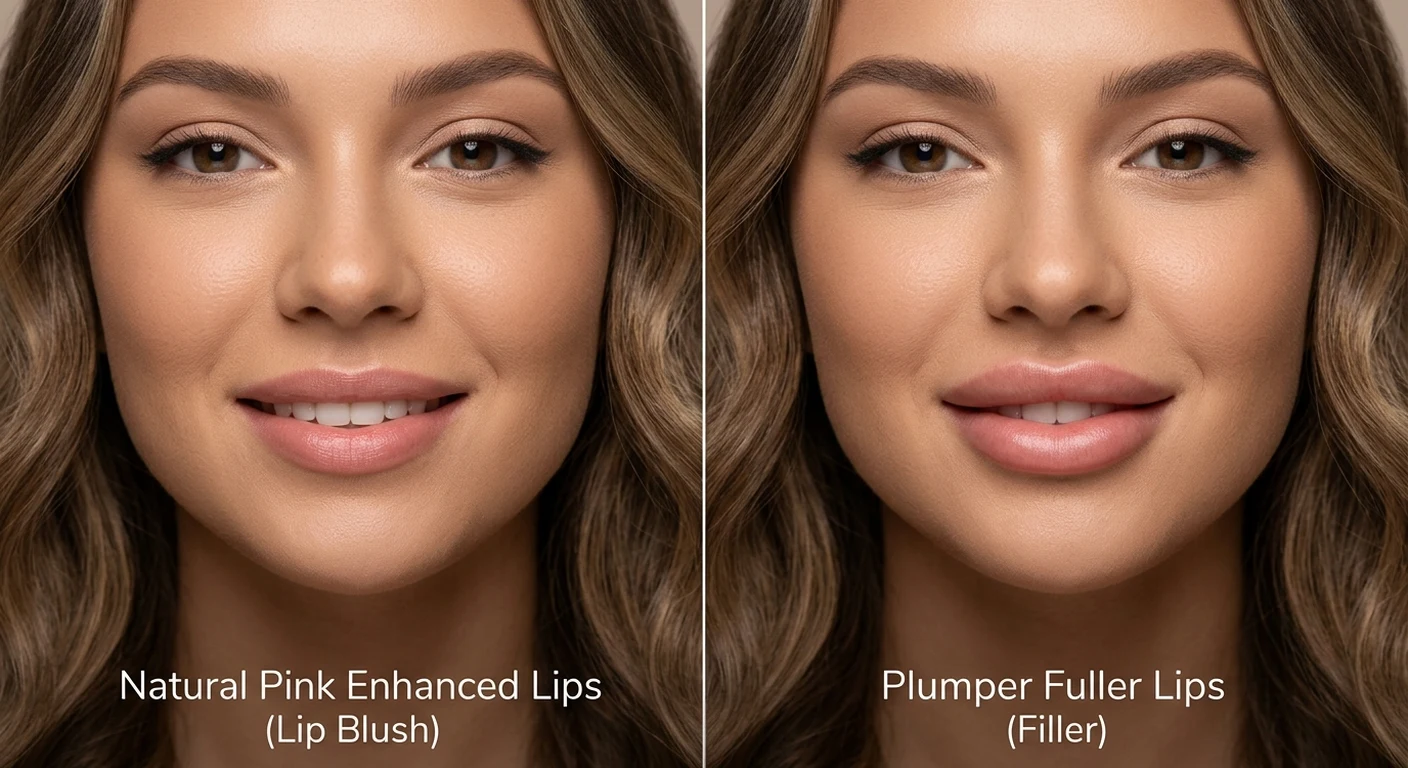
Lip Blush vs Lip Filler: Which Lip Enhancement Is Right for You in Dubai
Comparing lip blush (semi-permanent makeup) vs lip fillers (dermal injections) in Dubai? Our complete guide covers cost, results, longevity, pain, and which is right for your lip enhancement goals.
Buccal Sculpting Facial Massage in Dubai — Complete Guide to Non-Invasive Facial Contouring
Discover the complete guide to buccal sculpting facial massage in Dubai. Learn how intra-oral massage contours the jawline, reduces TMJ tension, and lifts facial muscles — naturally.
Skin Brightening Facial in Dubai — Complete Guide to Brightening Facials
Discover the complete guide to skin brightening facials in Dubai. Learn how vitamin C, fruit enzymes, and brightening serums even out skin tone and restore natural radiance.

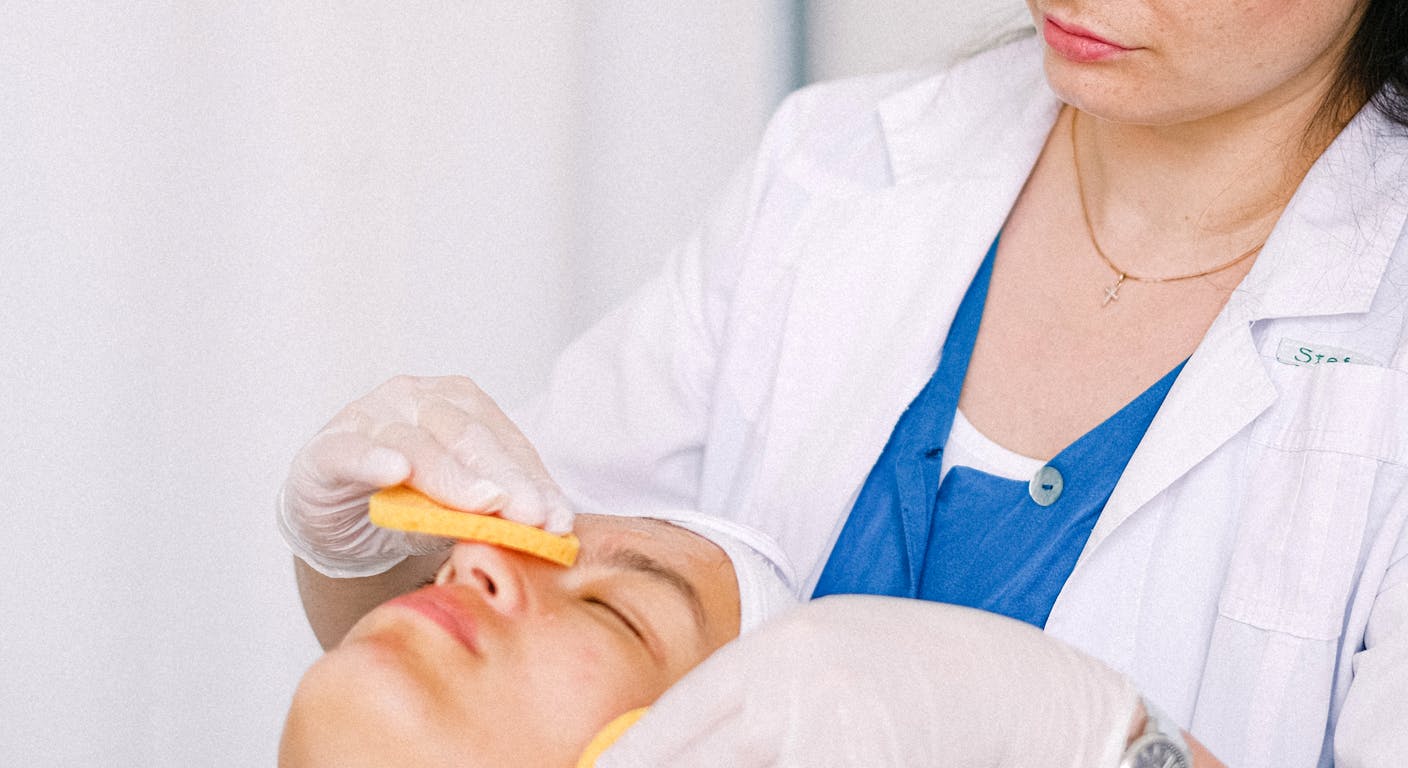
Deep Cleansing Facial in Dubai — The Complete Guide to Flawless Skin
Discover the complete guide to deep cleansing facials in Dubai. Learn about the process, benefits, what to expect, and professional aftercare for truly clean, glowing skin.
Waxing in Dubai — The Complete Guide to Professional Hair Removal
Complete guide to professional waxing in Dubai. Learn about facial and body waxing, preparation tips, aftercare, and why Brows & Lips is Dubai's top waxing destination.
Permanent Under-Eye Concealer Aftercare
Essential permanent under-eye concealer aftercare guide. Expert aftercare advice for under-eye concealer tattoo in Dubai from Brows and Lips.
Laser Tattoo Removal Aftercare
Essential laser tattoo removal aftercare guide. Expert aftercare advice for laser tattoo removal in Dubai from Brows and Lips.
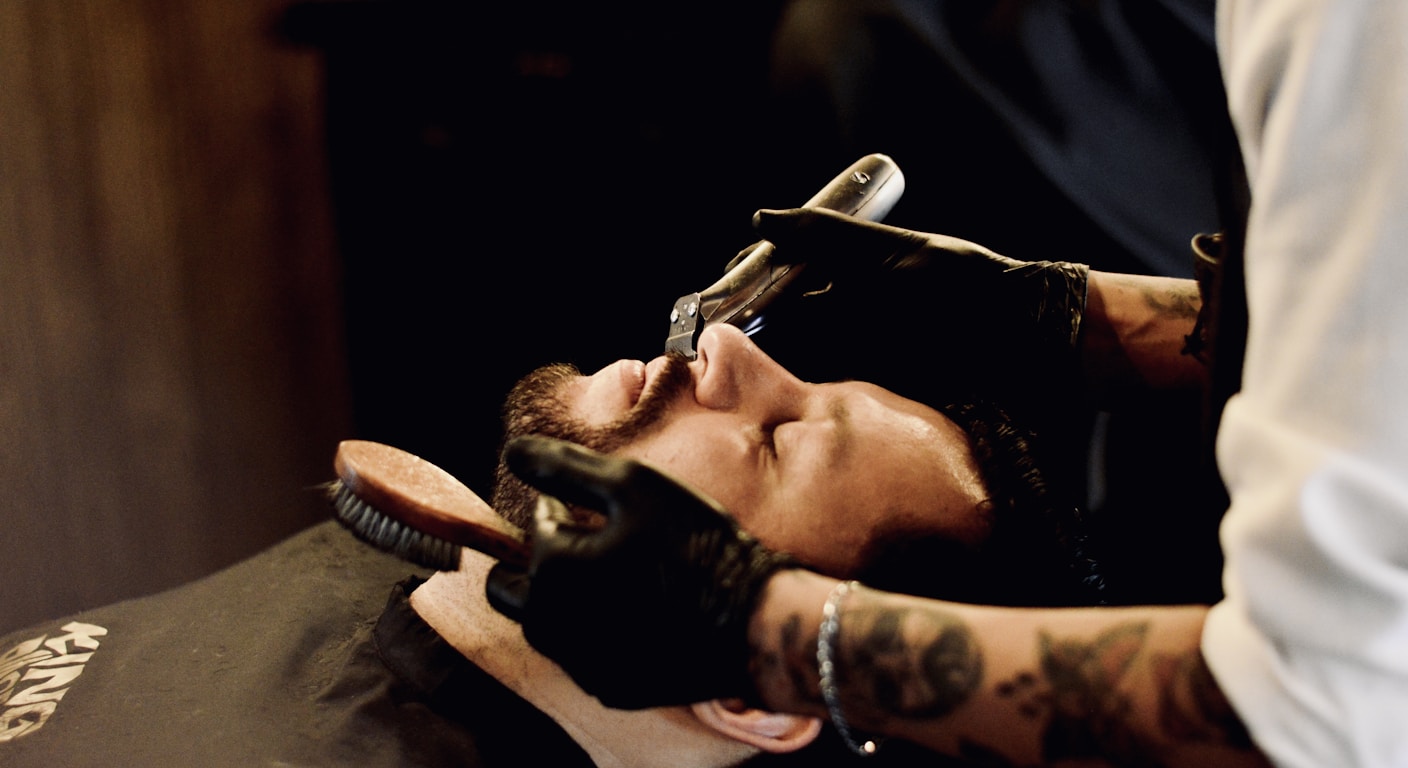
Beard Micropigmentation Aftercare
Essential beard micropigmentation aftercare guide. Expert aftercare advice for beard micropigmentation (BMP) in Dubai from Brows and Lips.
PRP Therapy in Dubai: Complete Guide to Platelet-Rich Plasma Facial
Discover the complete guide to PRP therapy (Vampire Facial) in Dubai. Learn how platelet-rich plasma rejuvenates skin, stimulates collagen, and restores a youthful glow.
Beard Micropigmentation Aftercare: Complete Dubai Guide
Essential beard micropigmentation aftercare guide. Learn proper healing steps, cleansing routine, sun protection, and what to expect after your BMP procedure.
Permanent Under-Eye Concealer Aftercare: Complete Dubai Guide
Essential permanent under-eye concealer aftercare guide. Learn proper healing steps, sun protection, and what to expect after your procedure.
Laser Tattoo Removal Aftercare: Complete Dubai Guide
Essential laser tattoo removal aftercare guide for Dubai clients. Learn proper healing steps, blister care, sun protection, and what to expect after each session.
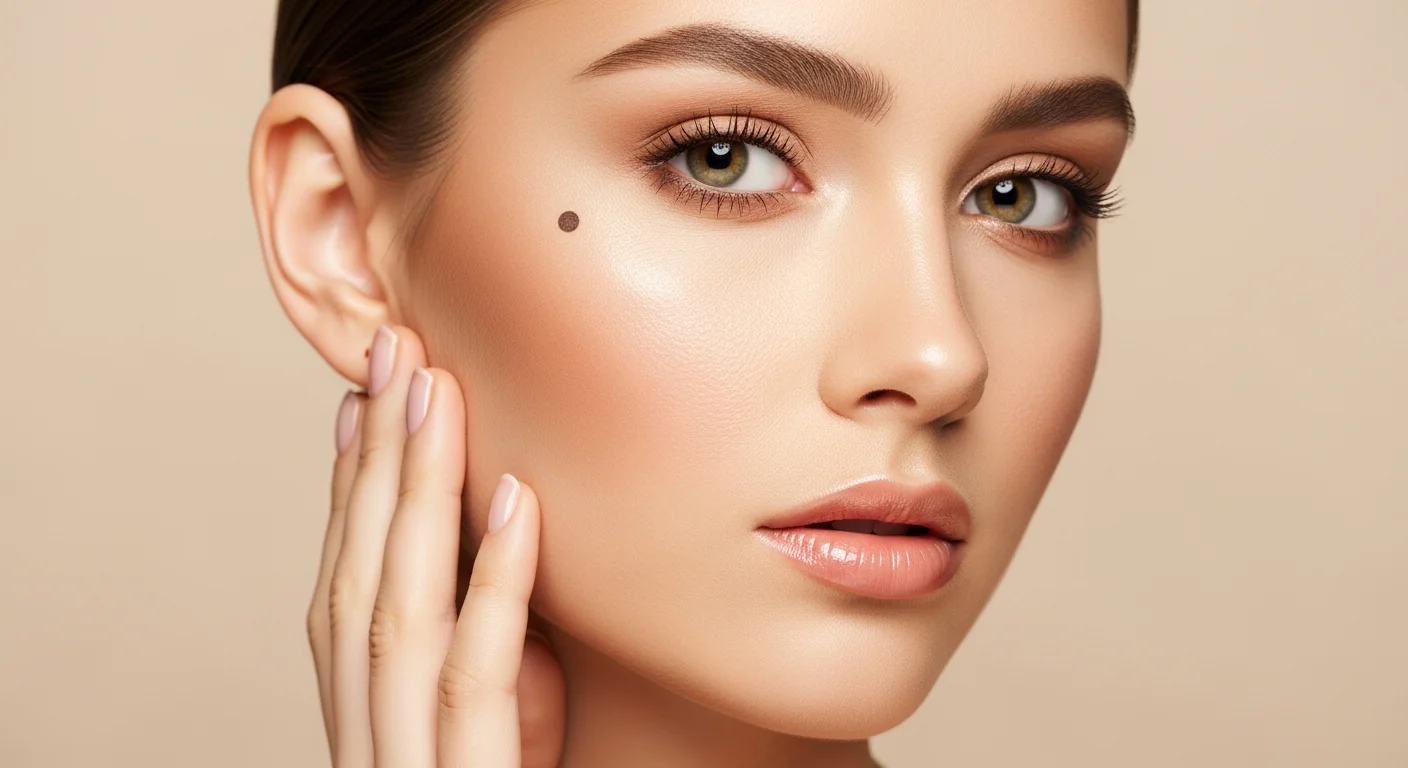
Beauty Mark Tattoos in Dubai: Everything You Need to Know
Discover beauty mark tattoos in Dubai — the complete guide to permanent beauty marks and freckle tattoos. Learn the procedure, healing, and results at Brows and Lips.
Chemical Peel in Dubai: Complete Guide to Skin Rejuvenation
Discover the complete guide to chemical peels in Dubai. Learn about different peel types, the treatment process, benefits, results, and pricing at Brows and Lips Studio.

Dermaplaning in Dubai — Complete Guide to Smooth, Glowing Skin
Complete guide to dermaplaning in Dubai: what it is, benefits, what to expect, and aftercare for smooth, glowing skin. Expert insights from Brows and Lips.
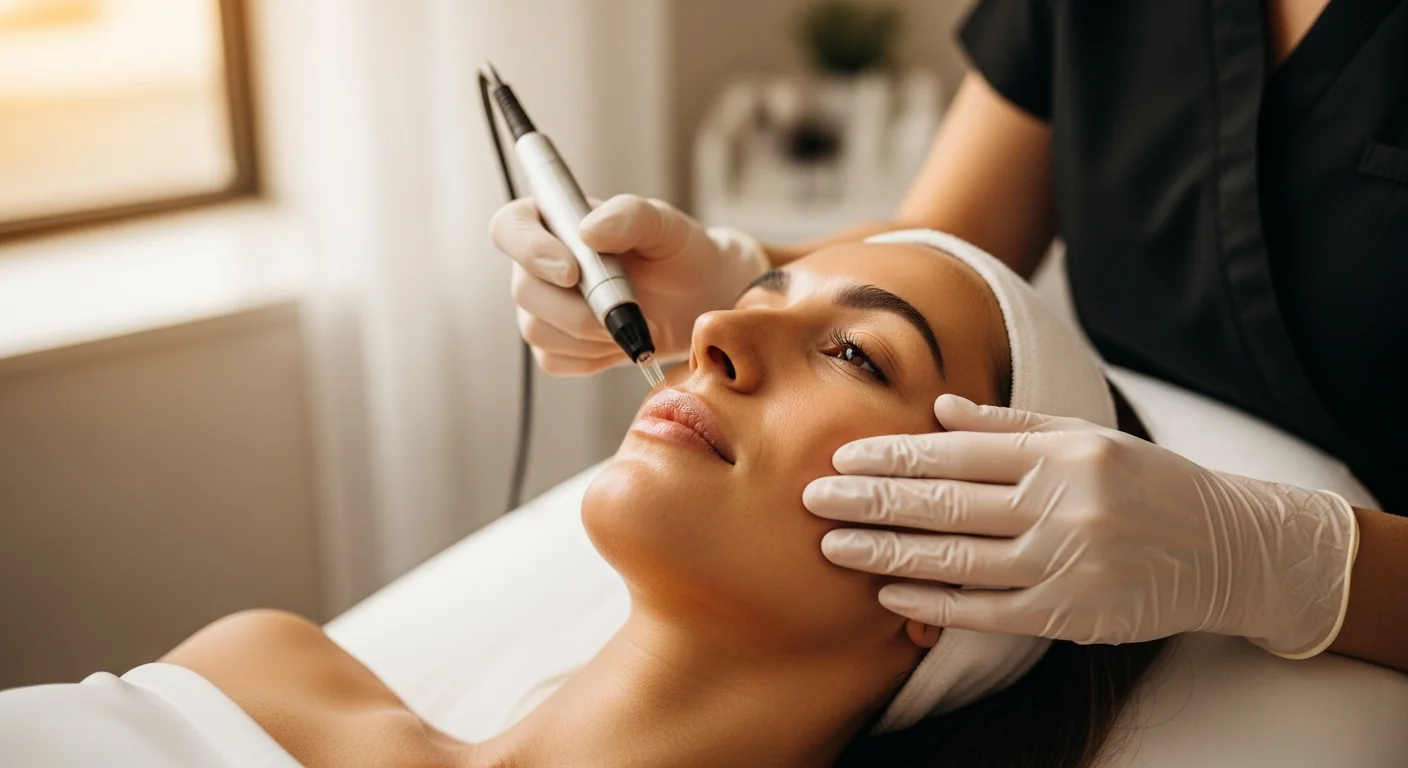
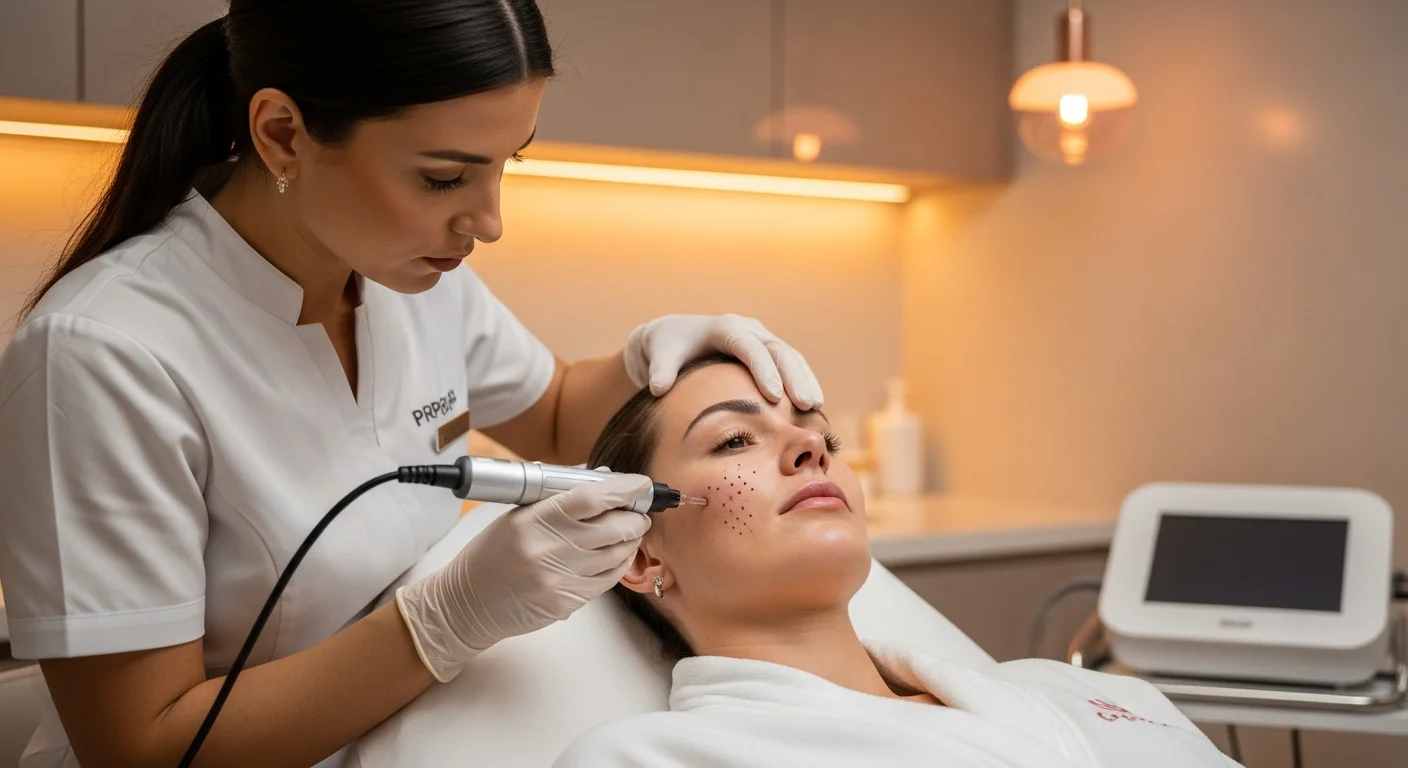
Microneedling in Dubai: Complete Guide to Collagen Induction Therapy
Discover the complete guide to microneedling in Dubai. Learn how collagen induction therapy works, benefits, step-by-step procedure, aftercare, and results timeline.
Vitiligo Camouflage Tattoo Dubai: Complete Guide 2026
Complete guide to vitiligo camouflage tattoo in Dubai. Learn how paramedical tattooing blends white patches with your natural skin tone for seamless, lasting results.

Dark Lip Pigmentation — Causes, Prevention and Treatments in Dubai
Discover what causes dark lip pigmentation and the most effective treatments in Dubai. From lifestyle changes to professional PMU neutralization.

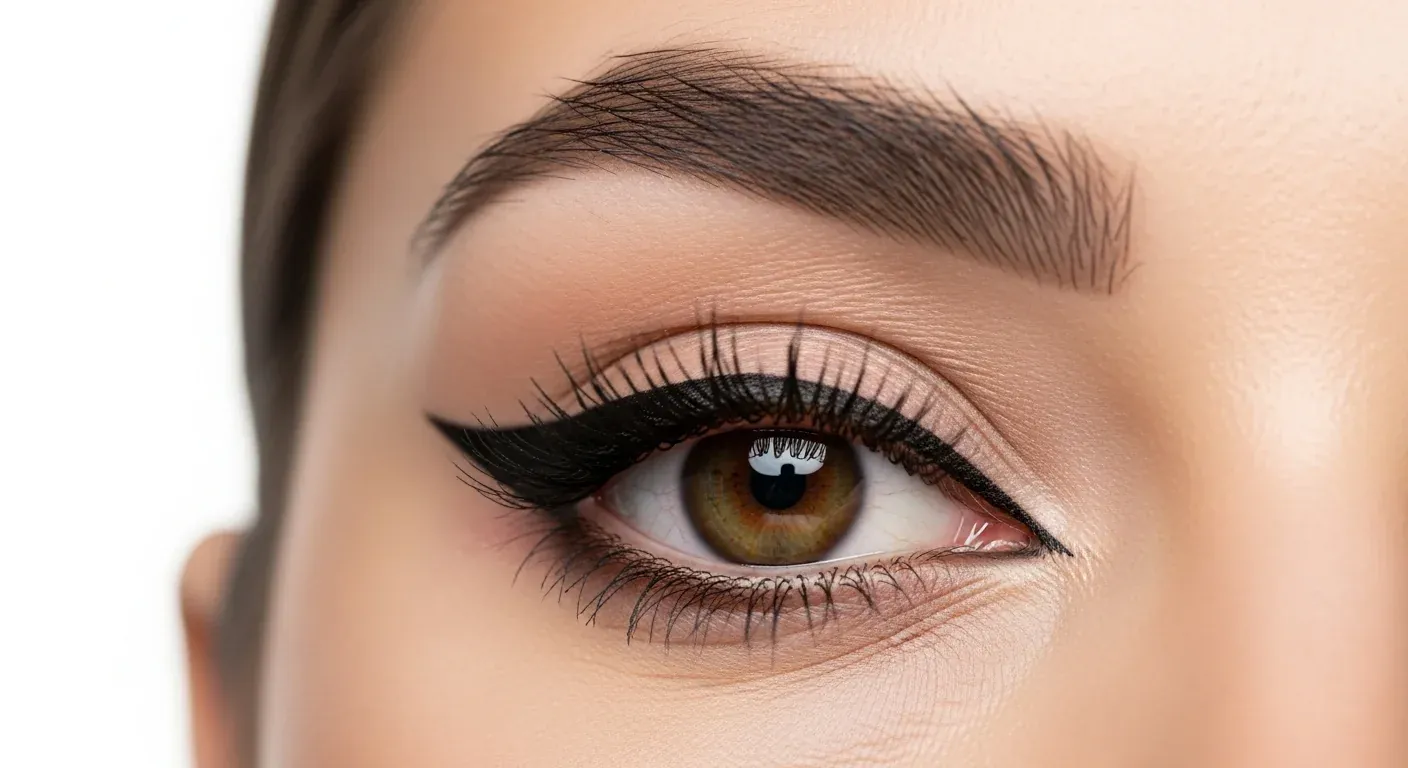
Permanent Makeup for Hooded Eyes in Dubai — Complete Eyeliner Tattoo Guide
Discover the complete guide to permanent makeup for hooded eyes in Dubai. Learn how eyeliner tattooing works on hooded lids, technique, healing, and cost.
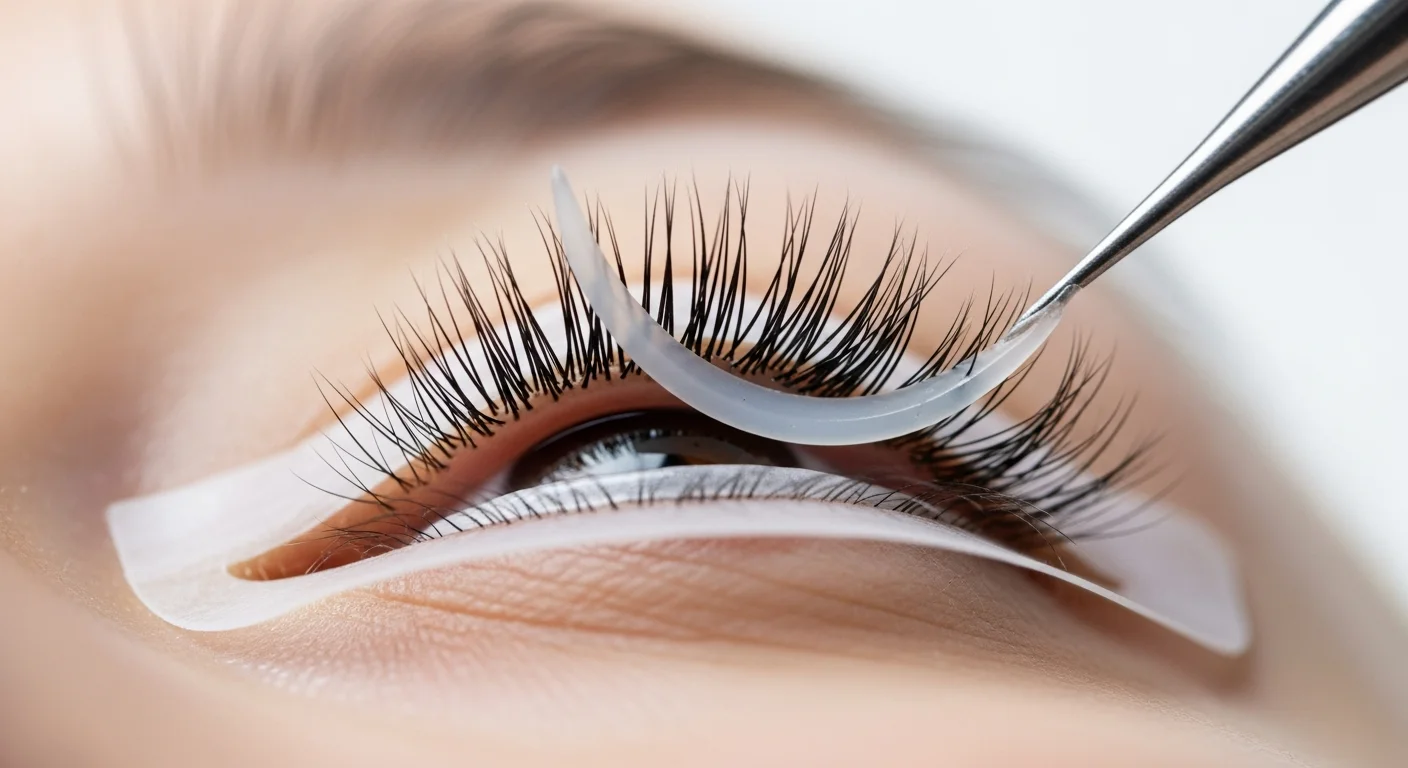
Lash Lift in Dubai: Complete Guide to Lifted Lashes, Process, and Aftercare
Discover the complete guide to lash lift in Dubai. Learn how the lash lift procedure works, aftercare tips, expected results, and pricing at Brows and Lips Studio.
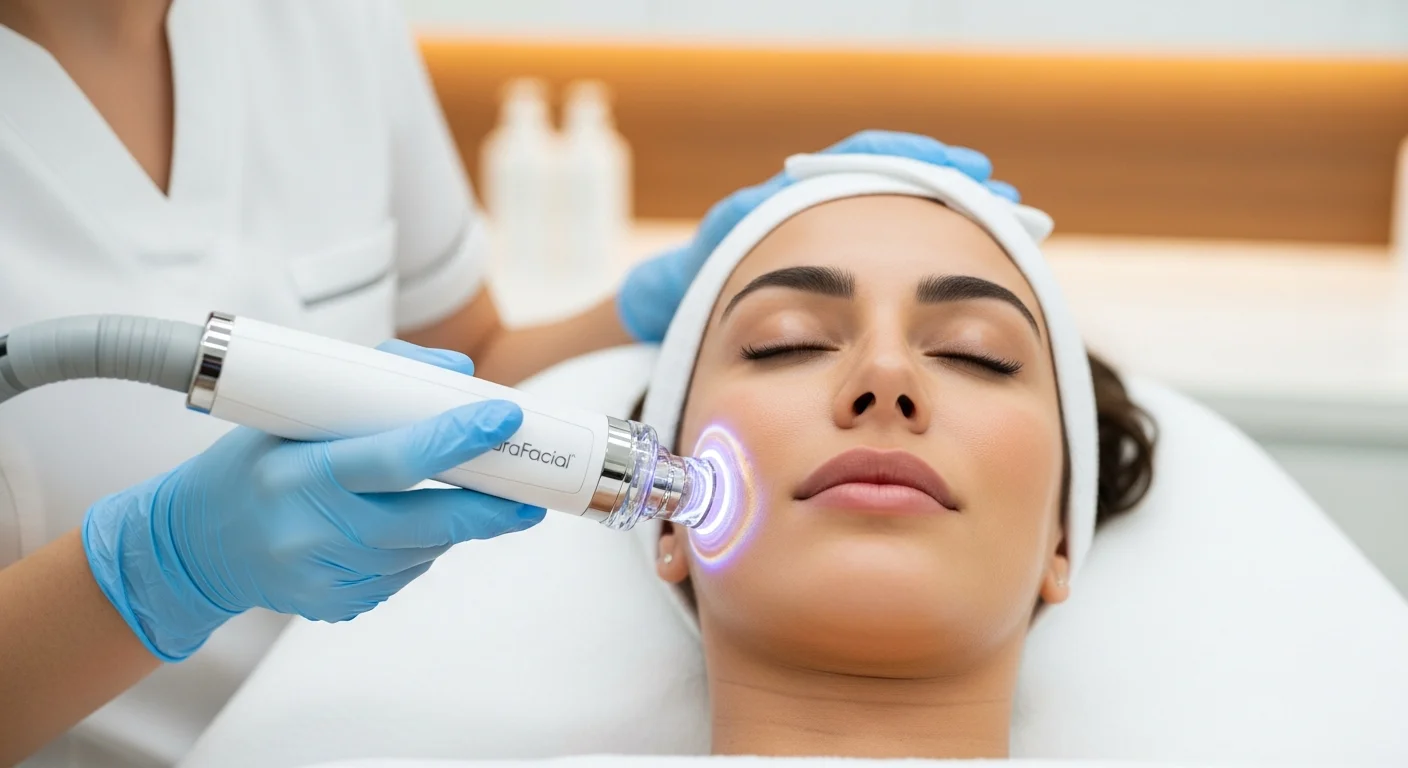
HydraFacial in Dubai: Complete Guide to Benefits, Process, and Results
Discover the complete guide to HydraFacial in Dubai. Learn about the 3-step treatment process, key benefits, results, and pricing at Brows and Lips Studio.
Permanent Lip Liner in Dubai: Complete Guide to Cost, Design & Healing
Complete guide to permanent lip liner in Dubai. Learn how lip liner tattooing works, the procedure, healing process, costs, and aftercare tips at Brows and Lips.
Brow Lamination — The Complete Guide to Brow Lamination in Dubai
Complete guide to brow lamination in Dubai. Learn how brow lamination works, who it's for, the step-by-step process, and aftercare tips.
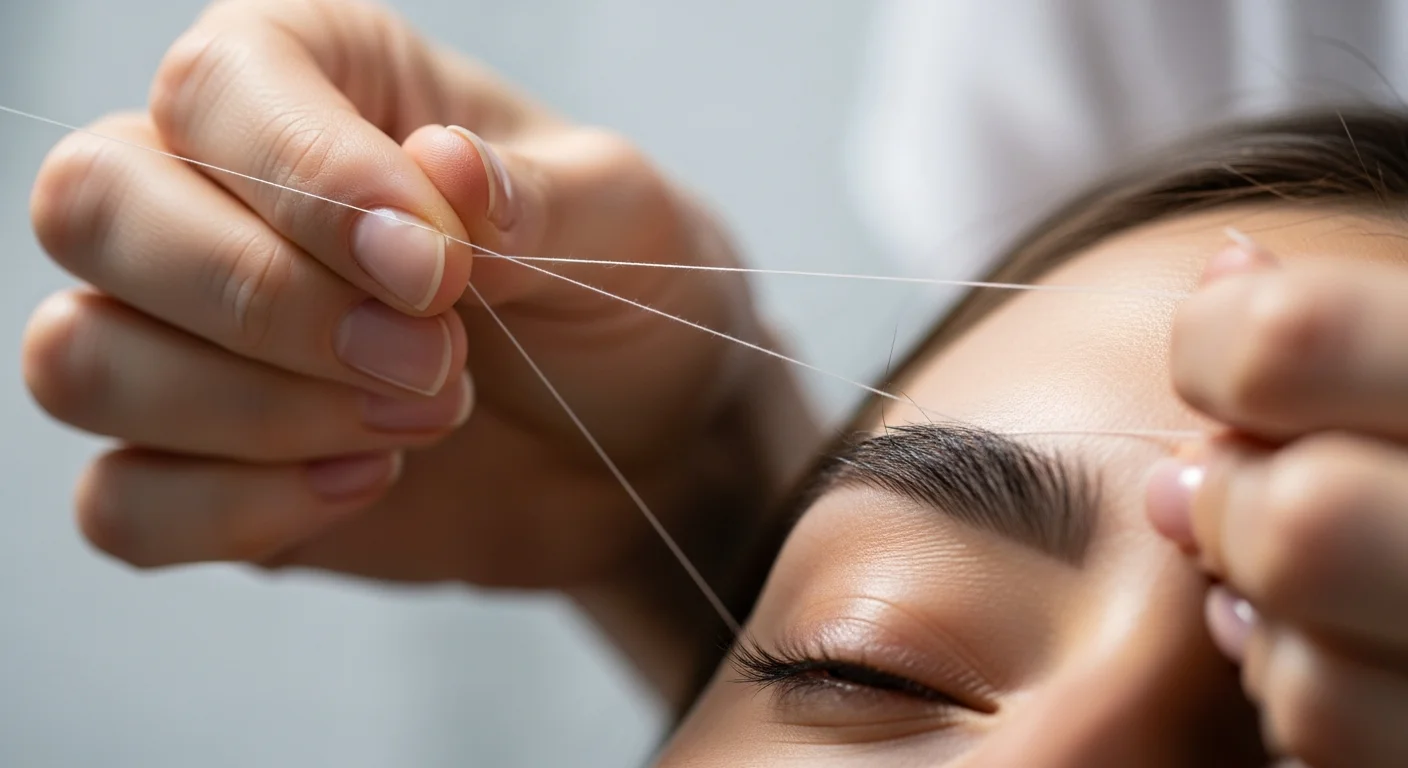
Eyebrow Threading in Dubai: Complete Guide to Precision Shaping
Discover the complete guide to eyebrow threading in Dubai. Learn benefits, pain level, aftercare tips, and why threading beats waxing.
How Long Does Microblading Last on Oily Skin? A Complete Guide for Dubai Clients
Worried microblading won\'t last on oily skin? Discover how long microblading lasts in Dubai, expert tips for longevity, and the best brow alternatives.
Permanent Eyeliner in Dubai: Complete Guide to Eyeliner Tattoo, Cost and Healing
Are you tired of spending precious minutes every morning trying to get your eyeliner perfectly even? Complete guide to permanent eyeliner in Dubai.
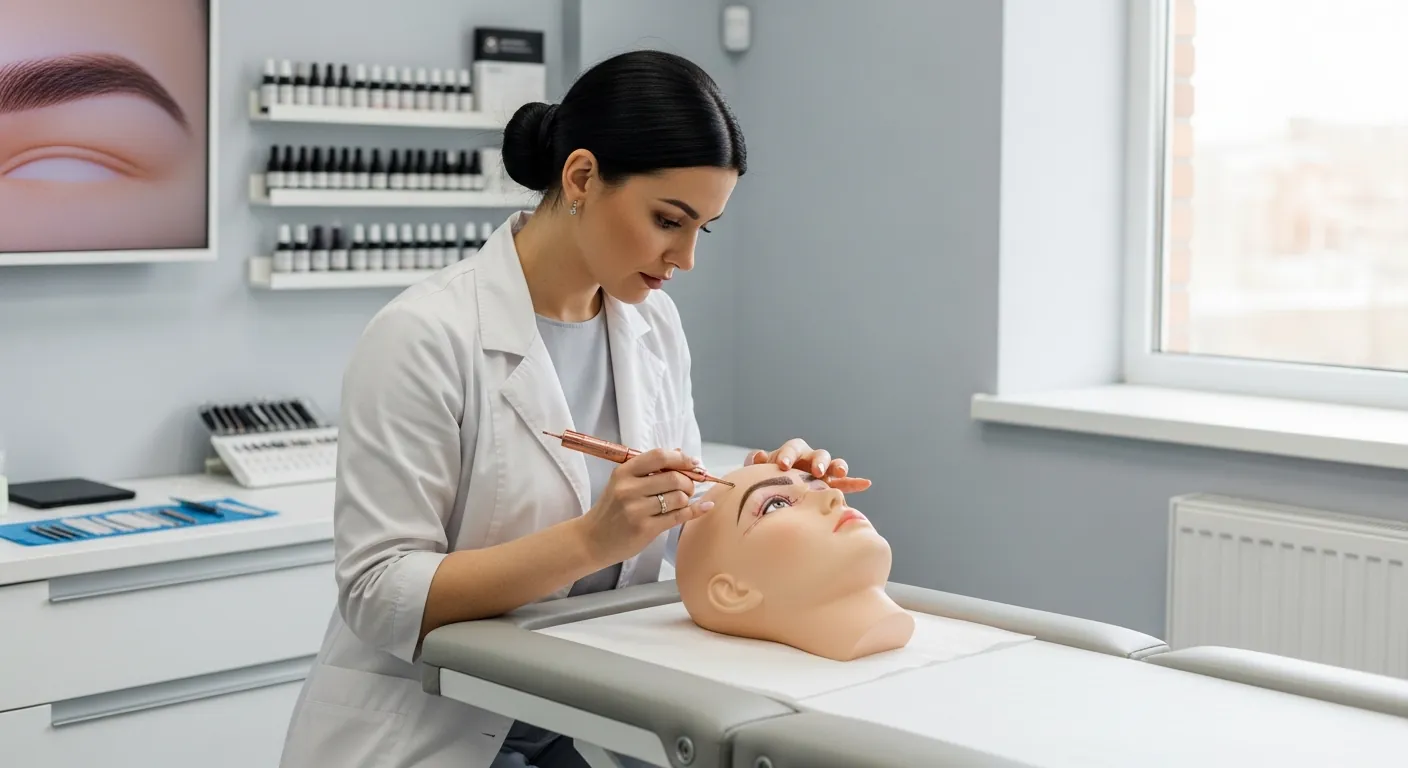
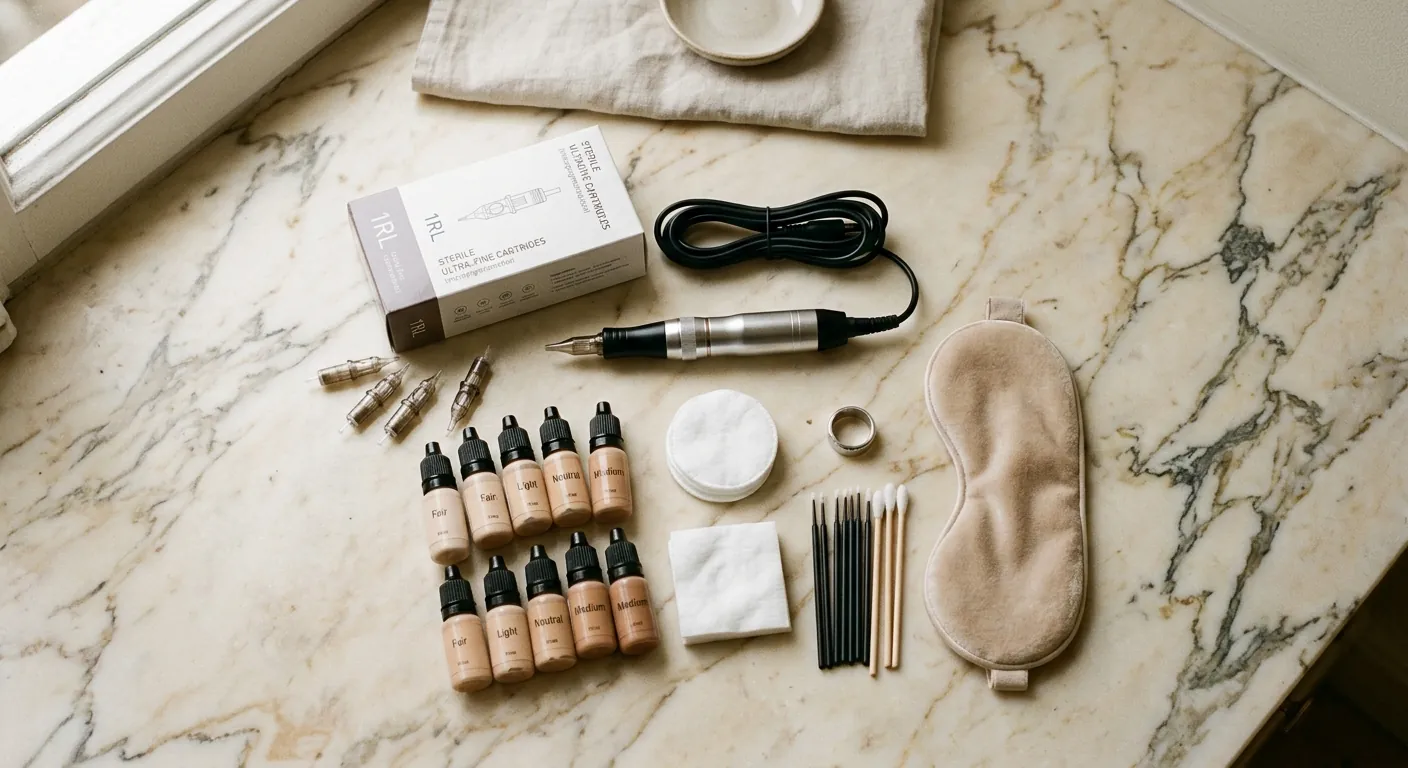
PMU Training Courses in Dubai: Microblading and Lip Blush Certification
Why get PMU certified in Dubai? Discover KHDA-approved microblading and lip blush training courses at Brows and Lips.
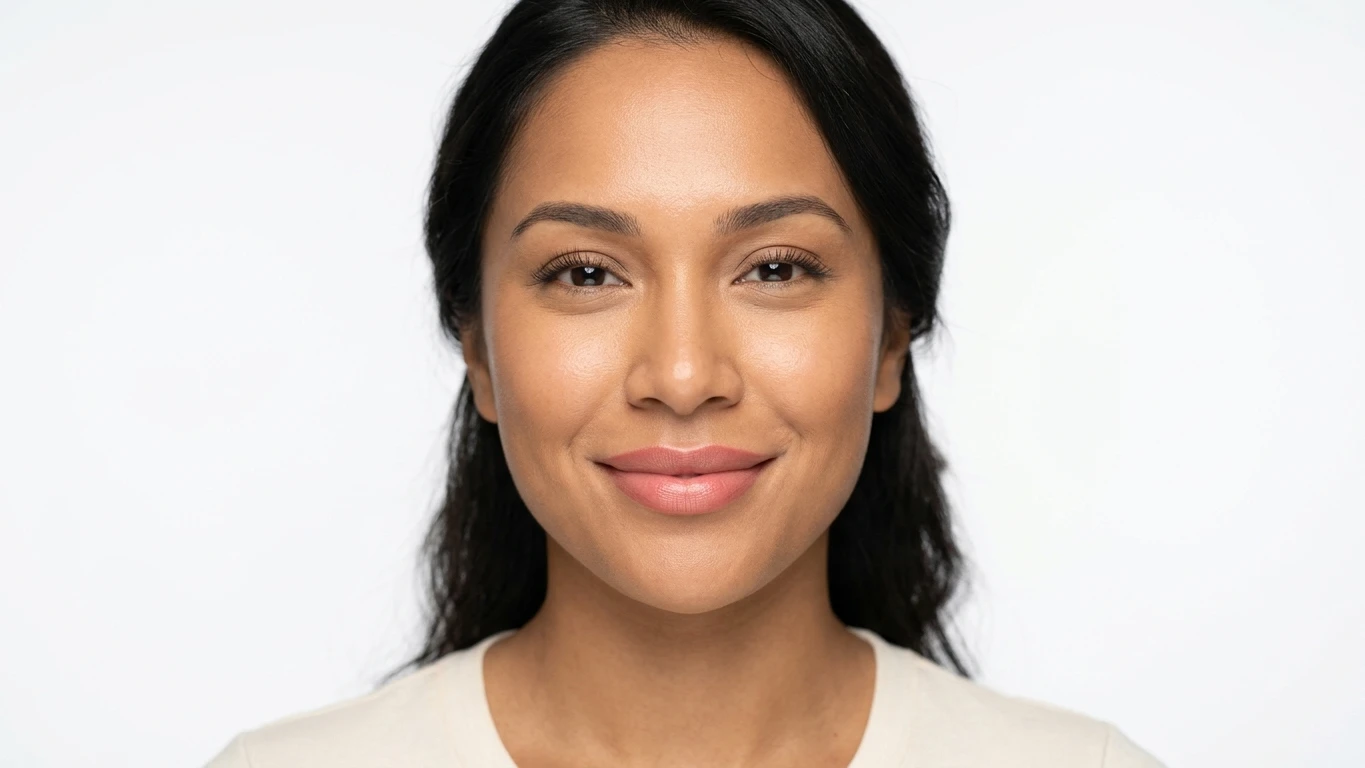
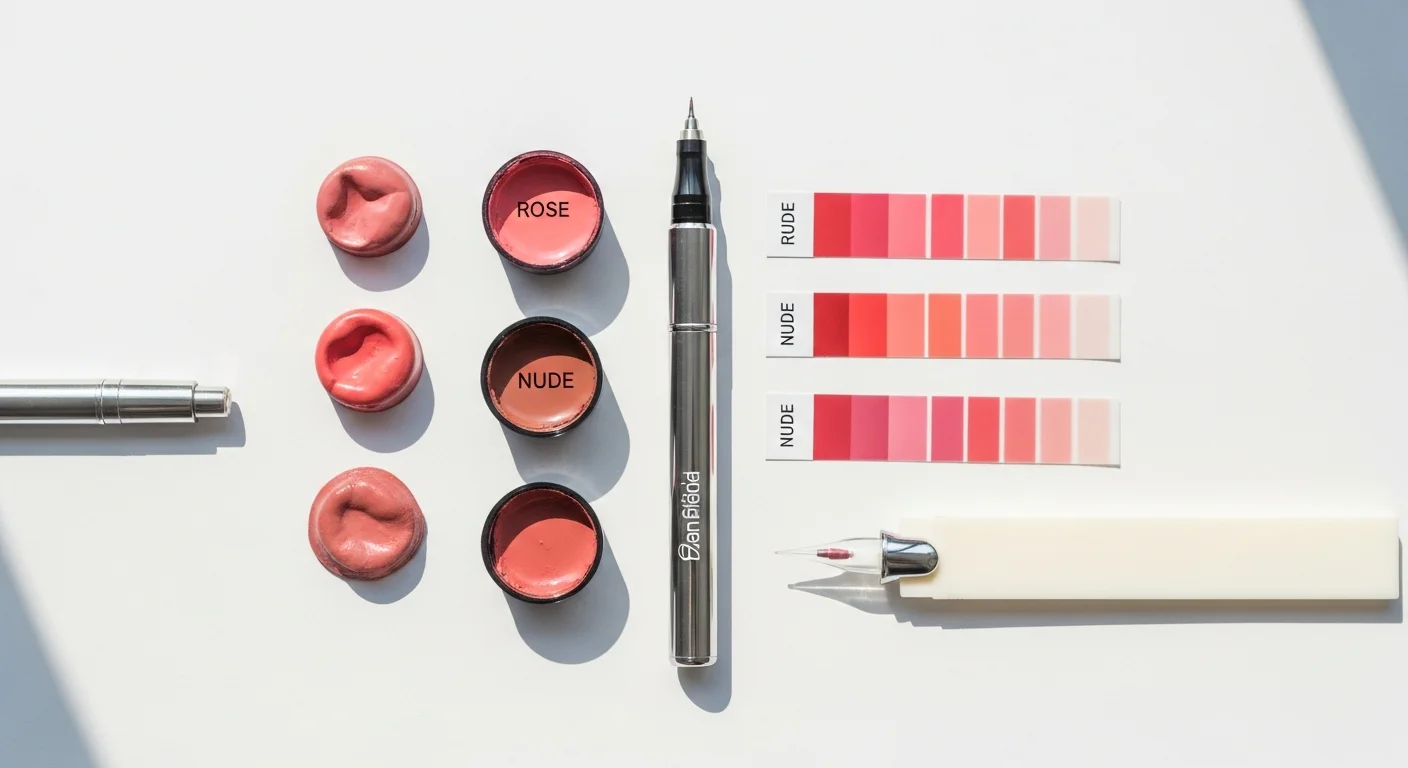
Lip Blush for Different Skin Tones: Expert Color Matching Guide
Not all pink is created equal. Expert guide to finding the perfect lip blush shade for your skin tone at Brows and Lips Dubai.
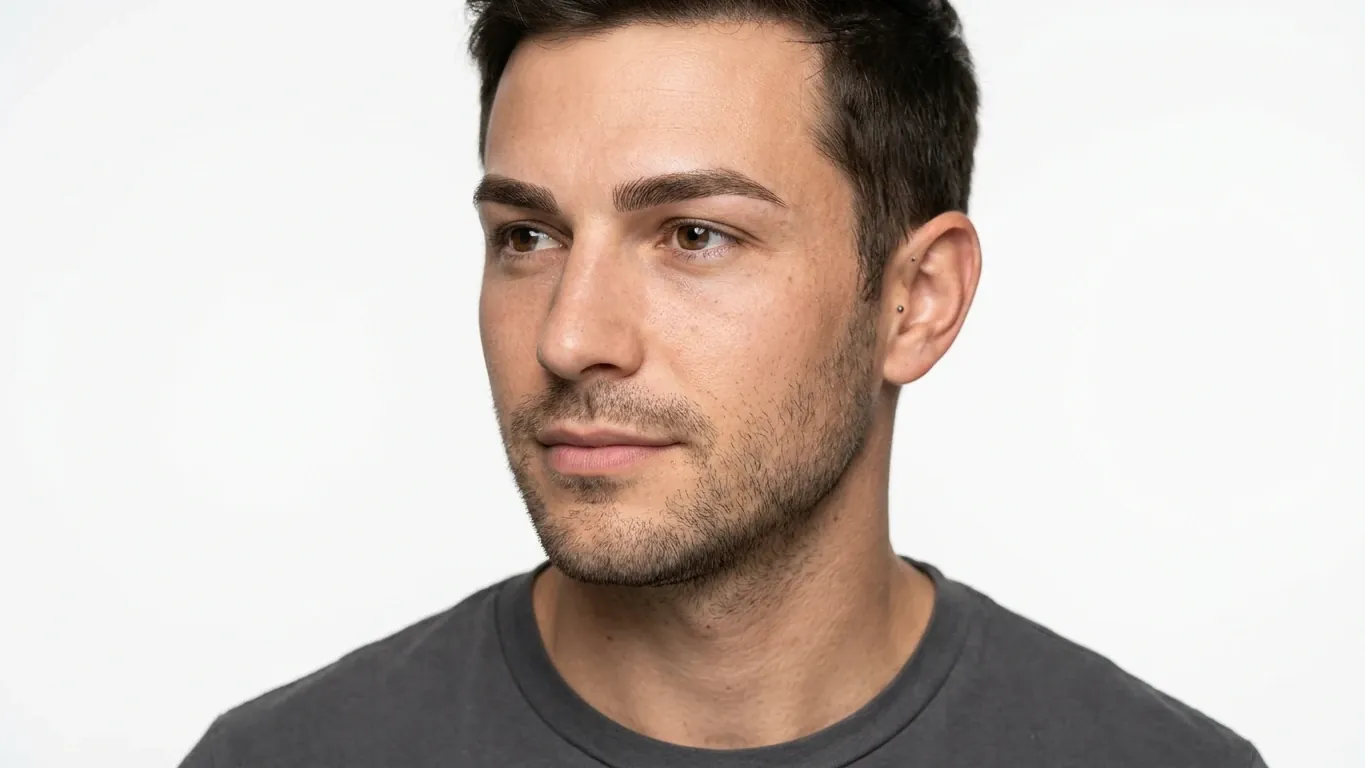
PMU for Men in Dubai: Eyebrows, Beard Enhancement and More
Permanent makeup for men has gained massive popularity. Discover eyebrow and beard PMU options in Dubai at Brows and Lips.
Eyebrow Tattoo Cost in Dubai 2026: Complete Pricing Guide
Thinking about eyebrow tattooing in Dubai in 2026? Complete pricing guide covering microblading, powder brows, and ombre brows costs.
Lip Blush Healing Timeline: What to Expect Day by Day
Getting a lip blush tattoo is an exciting step. Complete day-by-day healing timeline for lip blush at Brows and Lips Dubai.
Nanoblading vs Microblading: Which Brow Technique Wins in 2026?
If you\'ve been scrolling through social media looking at brow transformations, discover the difference between nanoblading and microblading.