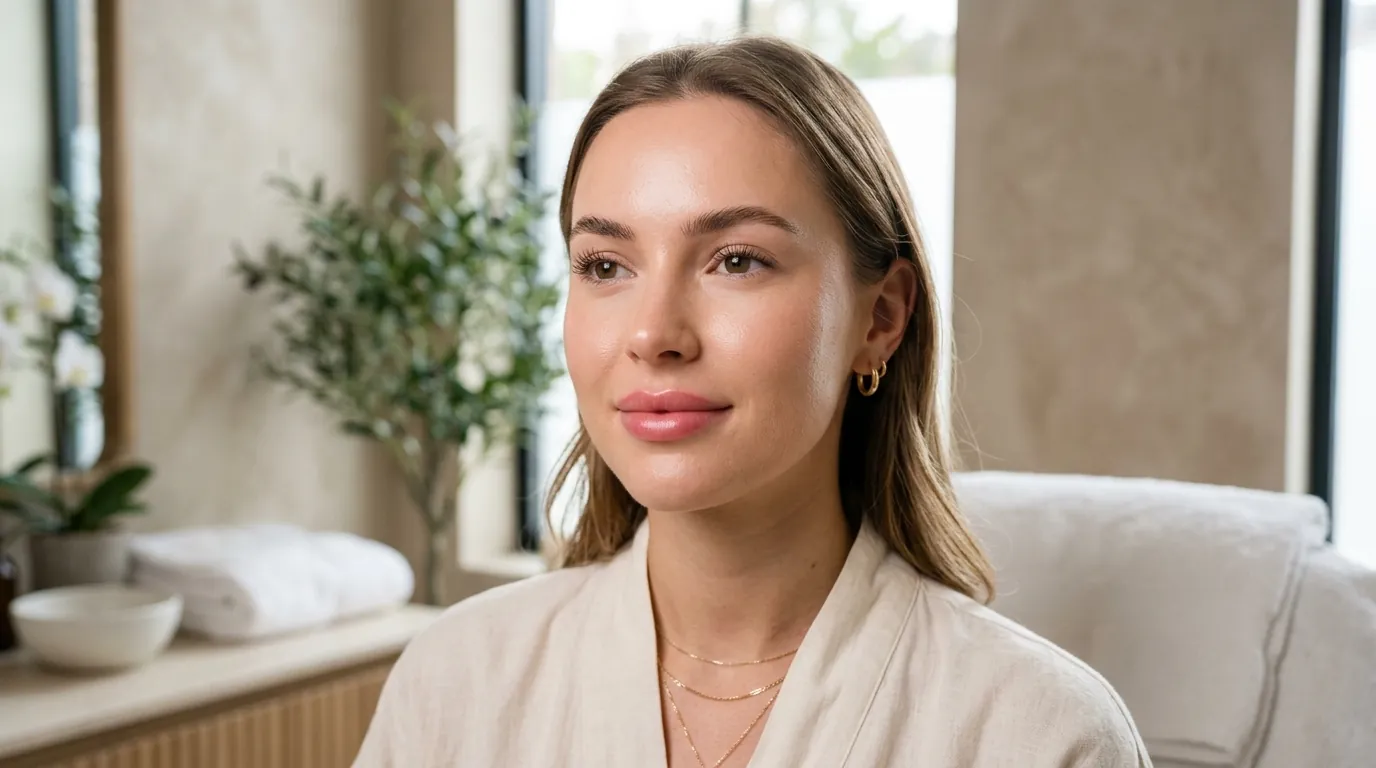
Getting a lip blush tattoo is an exciting step toward waking up every day with naturally flushed, beautifully defined lips. But here is the thing most people do not realise — the magic does not happen overnight. The real transformation unfolds over days and weeks as your lips go through a carefully orchestrated healing process. Understanding this process is the key to loving your results and avoiding unnecessary worry.
Whether you are preparing for your first appointment or already in the middle of your recovery, this complete guide will walk you through exactly what to expect — from the moment you leave the studio to the moment your final colour settles. We cover everything.
DAY 1: THE PROCEDURE — FRESH AND VIBRANT
On the day of your lip blush session, your lips will appear at their most saturated. The pigment sits on the surface of the skin and looks significantly darker and bolder than the final result. Do not panic — this is completely normal. Your lips may also feel slightly tender, swollen, and warm to the touch. Think of it as heavily tinted lips that are about 40 to 50 percent darker than what you will end up with. Your artist will apply a healing balm and send you home with detailed aftercare instructions. Keep your lips dry for the next few hours and avoid touching them.
DAY 2: DARKENING AND SWELLING PEAK
By day two, the colour may look even darker and more intense. This is when swelling typically reaches its peak. Your lips may feel slightly puffy and may appear uneven — one side might swell more than the other, which is perfectly normal. The healing process begins in earnest now. The pigment is settling into the micro-wounds created during the procedure. Do not apply any makeup, lipstick, or lip gloss to the area. Stick to the recommended healing balm and keep your lips moisturised without overdoing it.
DAY 3: THE FIRST SHEDDING BEGINS
This is often the least comfortable day. Your lips may start feeling dry, tight, and flaky. Small pieces of pigment may begin to shed. It is absolutely essential — and we mean essential — that you do not pick at these flakes yourself. Picking can pull pigment out of the skin and leave patchy, uneven results. The colour underneath the flakes may look light, uneven, or even missing in spots. This is not the final result. Trust the process. Continue applying a thin, clean layer of healing balm.
DAY 4 TO 5: PEELING CONTINUES
Flaking and peeling continue through this stage. Your lips may look like they have dry, flaky patches. Some areas may lose pigment faster than others, creating a temporary patchy appearance. This is the time when clients worry the most, but rest assured — this is natural healing. The healing timeline always includes this awkward middle phase. Avoid sleeping on your face if possible, as pillow friction can disturb the healing layer. Continue applying balm before meals and after cleaning.
DAY 6 TO 7: MOST PEELING COMPLETE
By the end of the first week, most of the peeling should be finished. The surface layer of your lips will feel smooth again. The colour will look much softer and more natural — sometimes 50 to 60 percent lighter than the initial result. You may notice that the colour looks slightly uneven or that the lip line has softened. This is expected. The pigment is still settling into the deeper dermal layer. You can gently exfoliate any remaining dry skin with a soft, damp cloth — but only if it is ready to come off naturally.
DAY 8 TO 10: THE HAZING PHASE
A unique stage in the lip blush healing timeline is the hazing period. A cloudy, slightly greyish layer may appear over your lips. This is natural lymphatic fluid rising to the surface as the deeper layers continue healing. It looks concerning but is actually a good sign — it means your body is working to lock the pigment in place. This stage lasts a few days before disappearing. Keep your lips moisturised and stay hydrated. Drink water using a straw if your lips are still sensitive.
DAY 11 TO 14: COLOUR RETURNS
Around the second week, the true colour begins to emerge. The cloudy layer fades, and the soft, natural pigment starts showing through. Your lips will look much lighter than they did on day one, but this is intentional. Lip blush is designed to enhance your natural lip colour, not replace it with an opaque layer. You will start seeing the soft flush you came for. Your lips should feel completely normal now — no swelling, no sensitivity, no peeling.
DAY 15 TO 28: FINAL COLOUR SETTLING
This is the final stage of the healing process. Over the next two weeks, the pigment continues to settle and oxidise within the skin. The colour may shift very subtly — becoming warmer, cooler, or slightly pinker depending on your skin chemistry and the pigment type used. By week four, your lips will have reached approximately 90 to 95 percent of their final healed colour. This is the ideal time to assess whether you would like a touch-up session. Most artists recommend a follow-up appointment 4 to 8 weeks after the initial session to perfect the shape and saturation.
ESSENTIAL AFTERCARE TIPS FOR A SMOOTH HEALING JOURNEY
- Keep lips dry for the first 24 hours: Avoid water, drinks, and kissing during this period.
- Do not use coloured or tinted lip products: Stick to the balm provided by your artist.
- Avoid spicy and salty foods: These can irritate the healing tissue.
- Stay out of direct sunlight: UV exposure can affect pigment retention.
- No strenuous exercise: Sweating can introduce bacteria and slow healing.
- Sleep on your back: Prevents pillow friction and protects the healing area.
- Trust the process: The final result is worth the temporary awkwardness.
- No alcohol for 3 to 5 days: Alcohol thins the blood and can interfere with healing.
- Avoid coffee for 24 hours: Caffeine raises blood pressure, which is not ideal during recovery.
- No swimming, saunas, or steam rooms for at least 10 days: Chlorine and bacteria can compromise the healing tissue.
WHAT ABOUT COLD SORES?
Clients who have experienced a cold sore in or around the mouth MUST take antiviral medication such as Valtrex or Zovirax on the day of and 2 days after receiving lip blush treatment. Failure to follow these instructions can risk an outbreak that may affect the healed result. Please discuss your history with your artist before the procedure.
FINAL THOUGHTS
The lip blush healing process is a journey — one that rewards patience with stunning, natural-looking results. Every stage, from the bold colour on day one to the soft, final flush, is part of the beauty of semi-permanent makeup. If you feel something is genuinely wrong — such as excessive pain, discharge, or signs of infection — contact your artist immediately. But for the natural ups and downs of healing, know that each day brings you closer to the perfect lips you have been dreaming of.
Ready to begin your lip blush journey? Book your consultation at Brows & Lips Dubai today and let our expert artists create your perfect shade.
Remember: Healing is a process, not an event. Be patient, follow the timeline, and your lip blush will reveal its true beauty.